
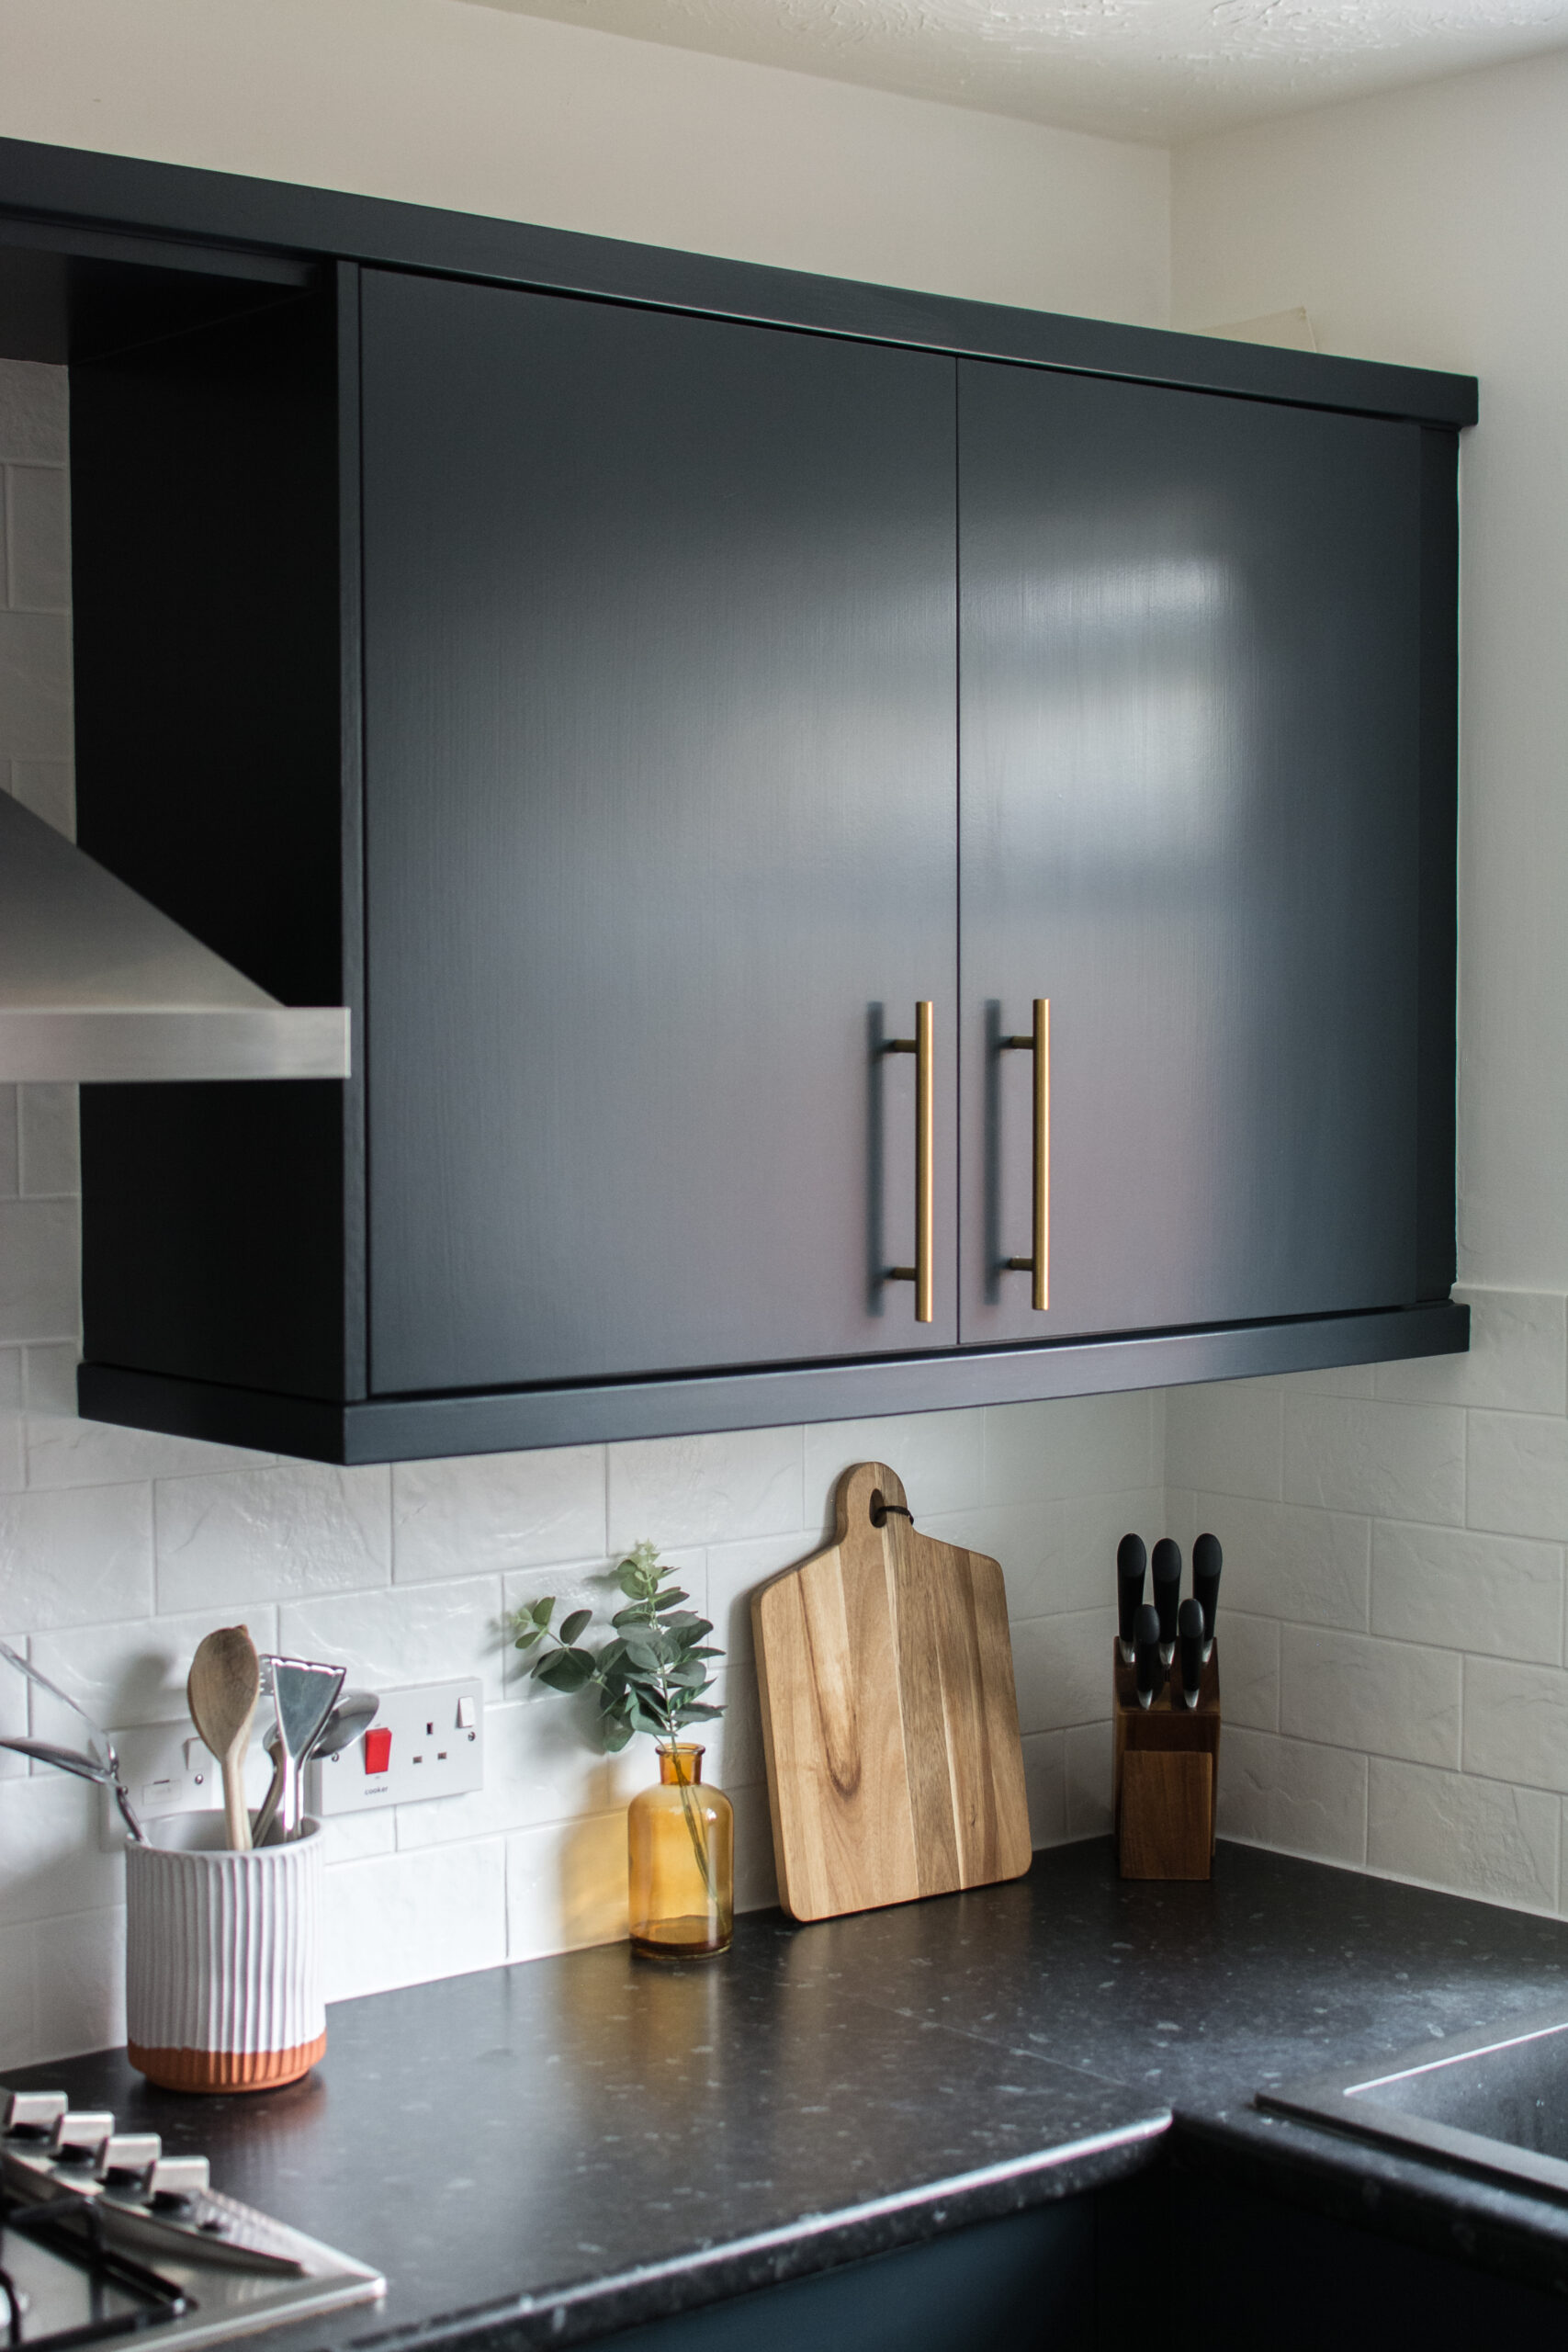
Painting Kitchen Cabinets: Before and After
This post contains affiliate links.
When we first began decorating our house, the kitchen was the one room we were the most worried about. It’s small, and the layout itself can’t really be changed due to the location of the door and window, so we were quite limited. I had debated us knocking the wall down and opening up to a big kitchen/diner, but it would have meant closing off our living space and we didn’t think it was worth it.
So, we were a bit stumped. With pale beige, cheapy looking laminate cabinets and not wanting to fork out on a whole new kitchen, we felt stuck. I’d always liked the idea of some super dark blue cabinets with gold hardware, but my boyfriend Tom thought it would be impossible to paint them ourselves and get a good finish. However, armed with many blog posts and Pinterest as evidence, I put the idea to him that we give it a go – and he agreed.
We knew going into it that it wasn’t going to be a quick and easy job. But, we also knew it would be a hell of a lot cheaper and easier than replacing the entire kitchen. Plus, I think if anyone else did it, it would probably have been a lot quicker, but Tom is very much a perfectionist so everything had to be just so. It’s worth noting that because of this I had little to no involvement in the actual painting. I just helped with the deciding of colours and fittings. (Tom has worked as a professional decorator so most of the time it’s best to just let him crack on with it!)
Preparing Your Cabinets
As with most things in the world of decorating (and makeup, actually) it was all in the prep. As I’ve been told many times before in the makeup world, if you mess up the base, you mess up the face. So, prepping your cabinets is key here.
Tom started off by taking all the doors off and sugar soaping everything to ensure it was all super clean. Then, make sure you sand the cabinets. The most important step for us, as our cabinets are laminate, was to use a shellac/high adhesion primer. Tom used the Zinsser primer and it made all the difference.
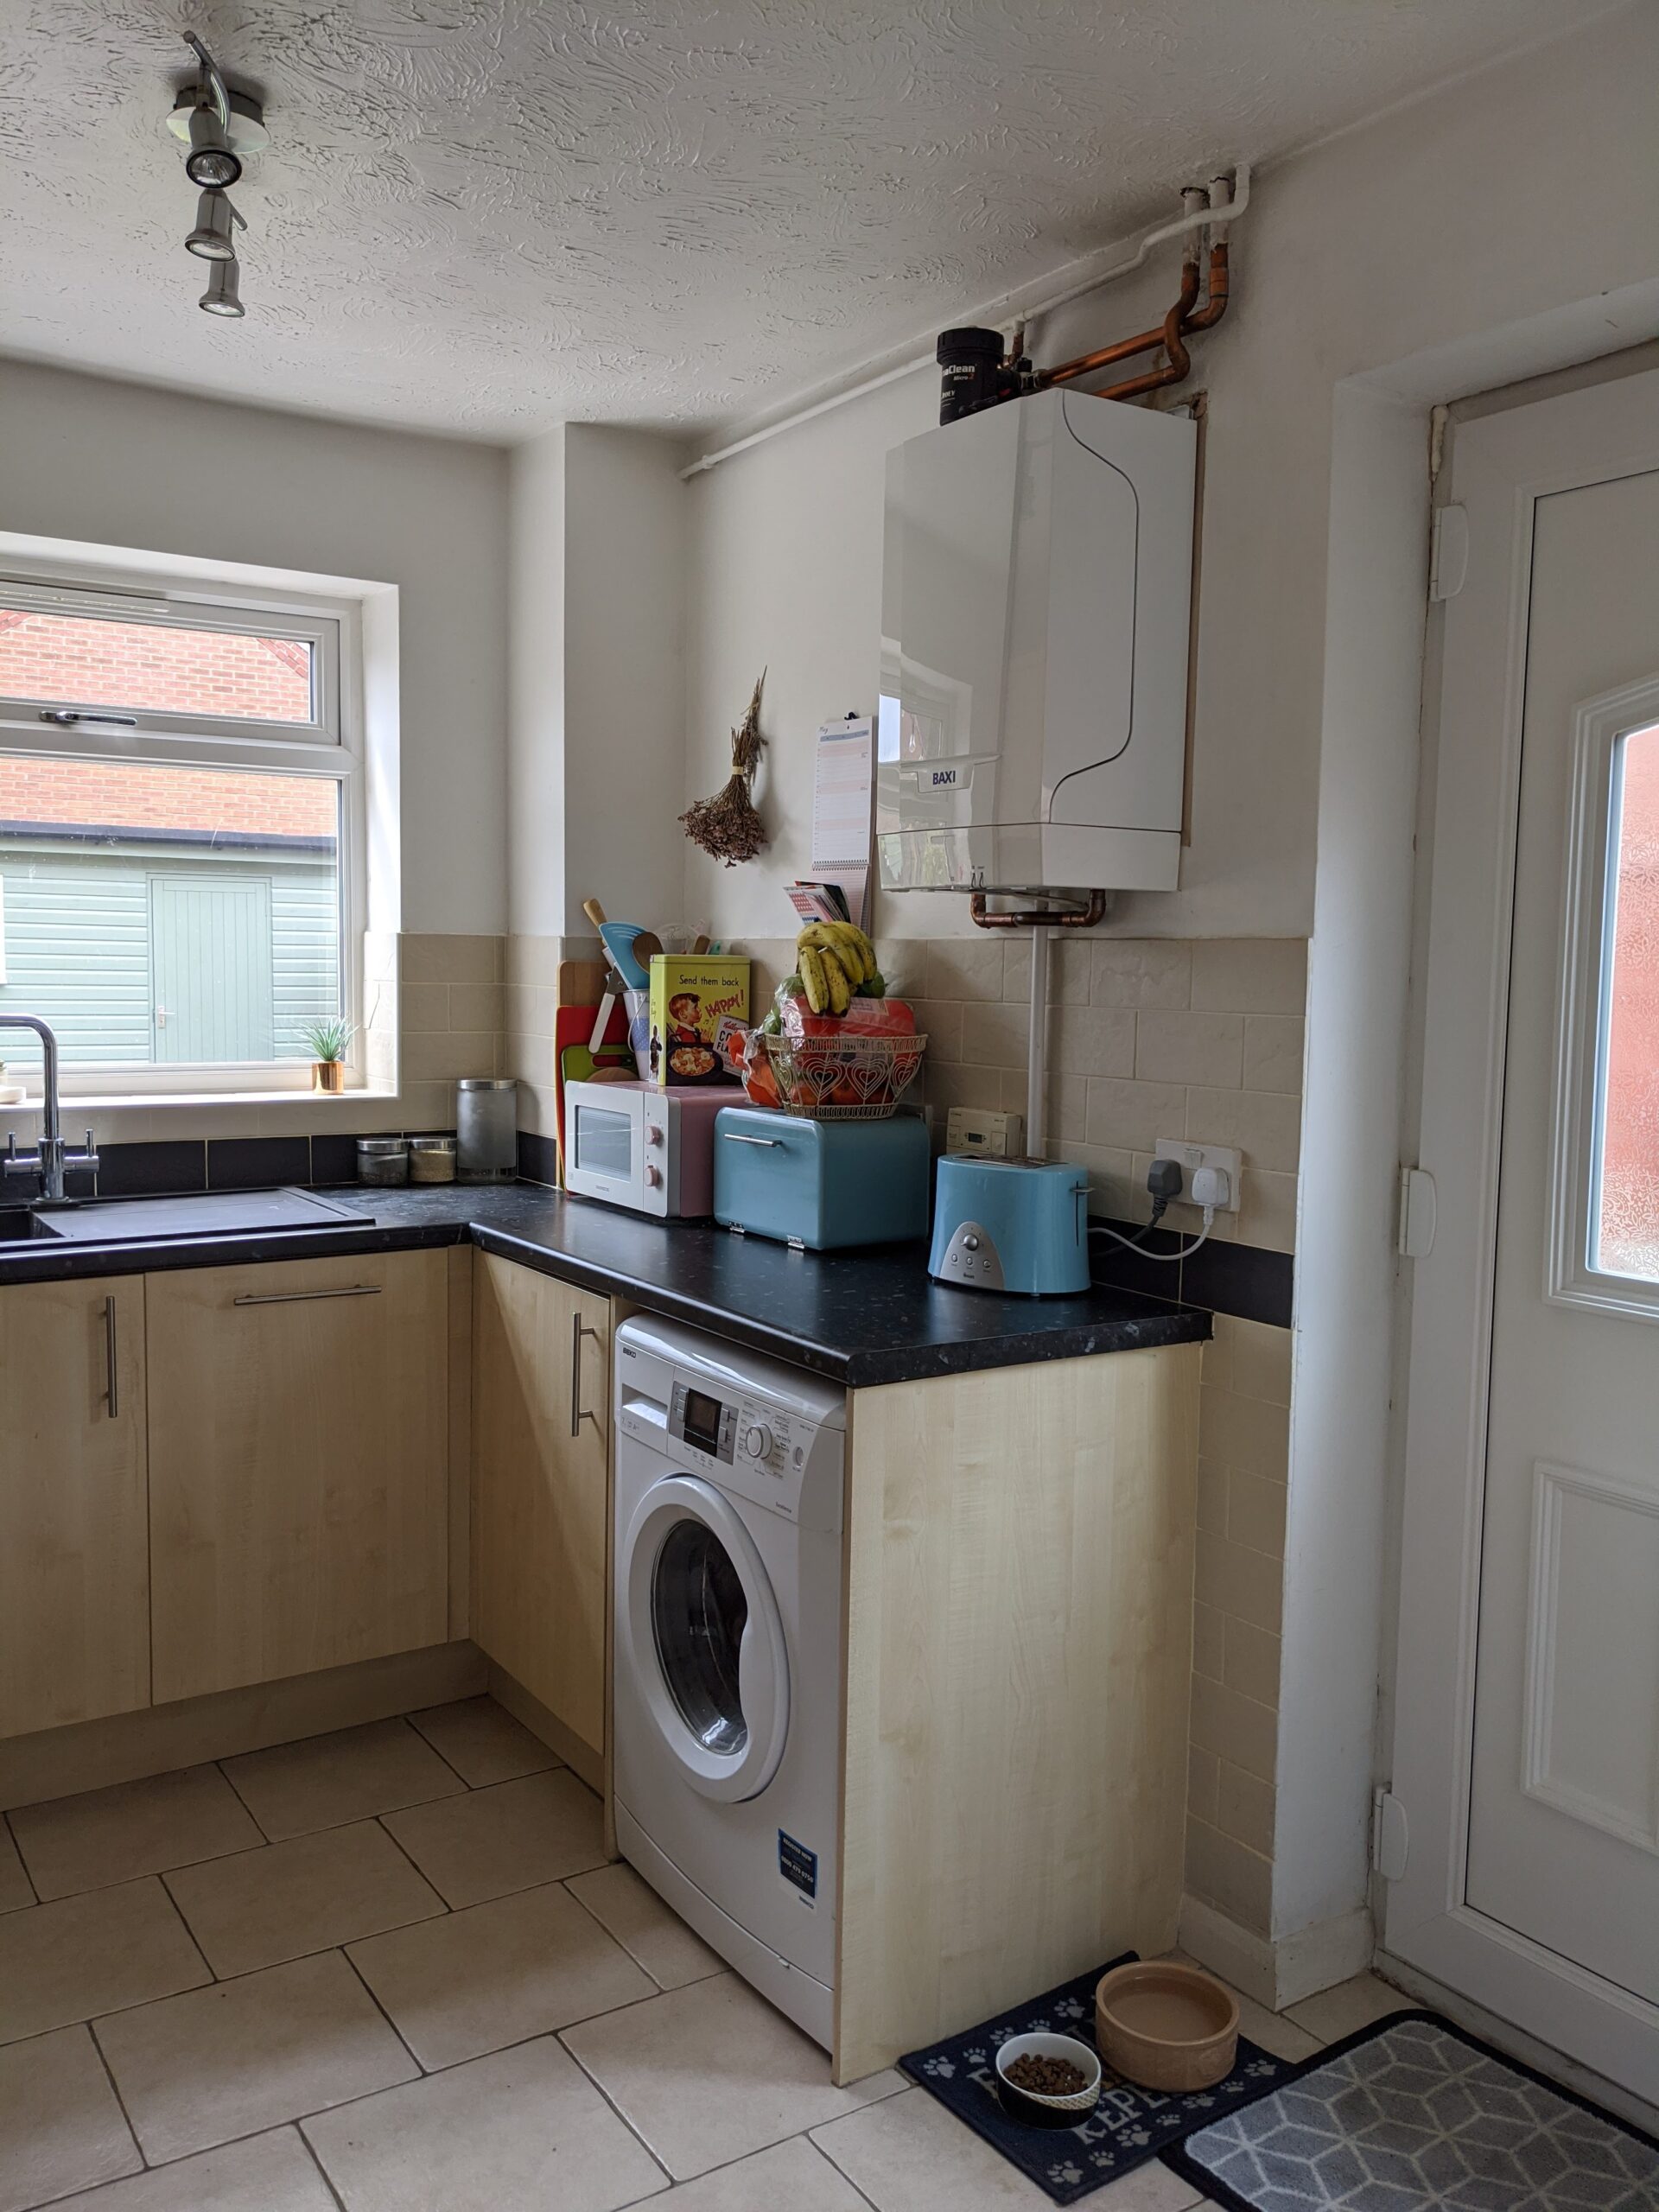

Painting Kitchen Cabinets
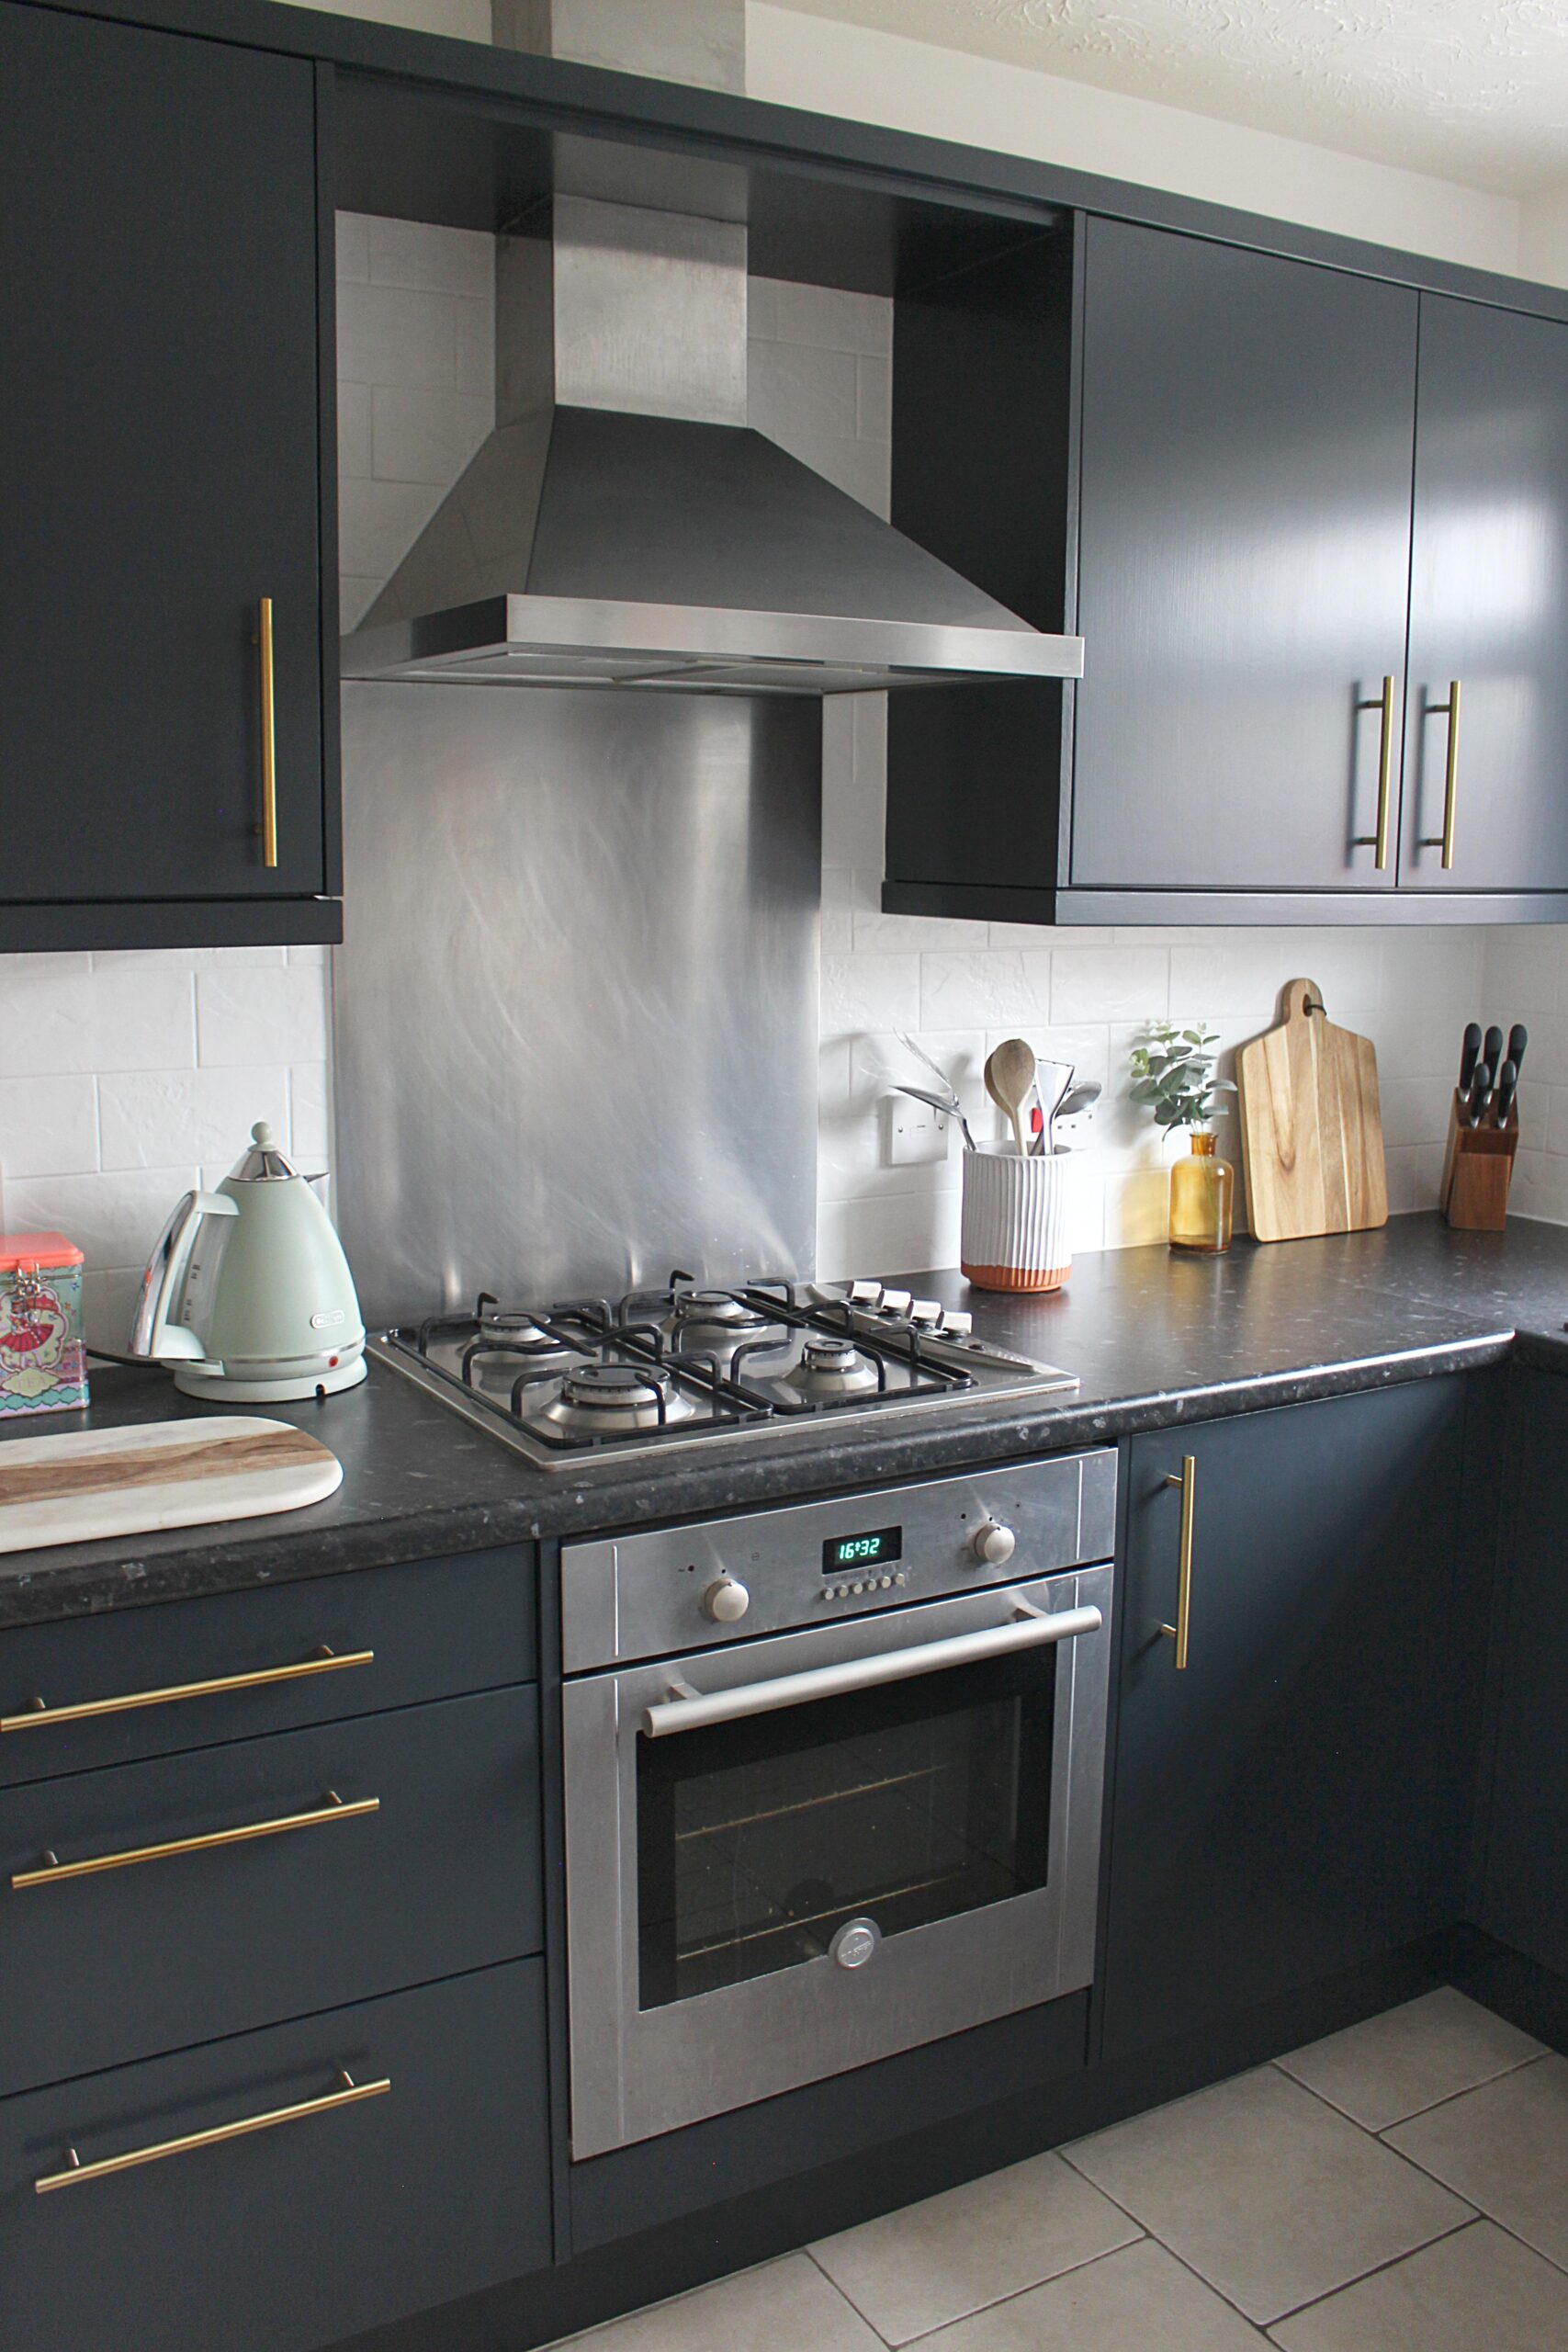
Then it was time for the exciting bit – the paint! We ummed and ahhed a lot over which paint to use – we knew we wanted a matte, dark blue but weren’t sure which to opt for. We could’ve gone for Farrow and Ball Hague Blue (like in our bedroom) but we felt it would look a bit too bright in the kitchen. In the end we opted for Farrow and Ball Railings and I’m so glad we did. It’s super dark but works so well in our kitchen as we get a lot of sun, and this was just the sort of colour we were looking for.
Before painting in Railings Tom used a Farrow and Ball undercoat in Dark Tones to give us the perfect base. He then applied two coats of Railings. In terms of painting tips, make sure you lightly sand between coats and lay off each coat of paint to get a uniform finish. Also, if it’s a wooden kitchen you’re painting over, paint with the direction of the wood grain.
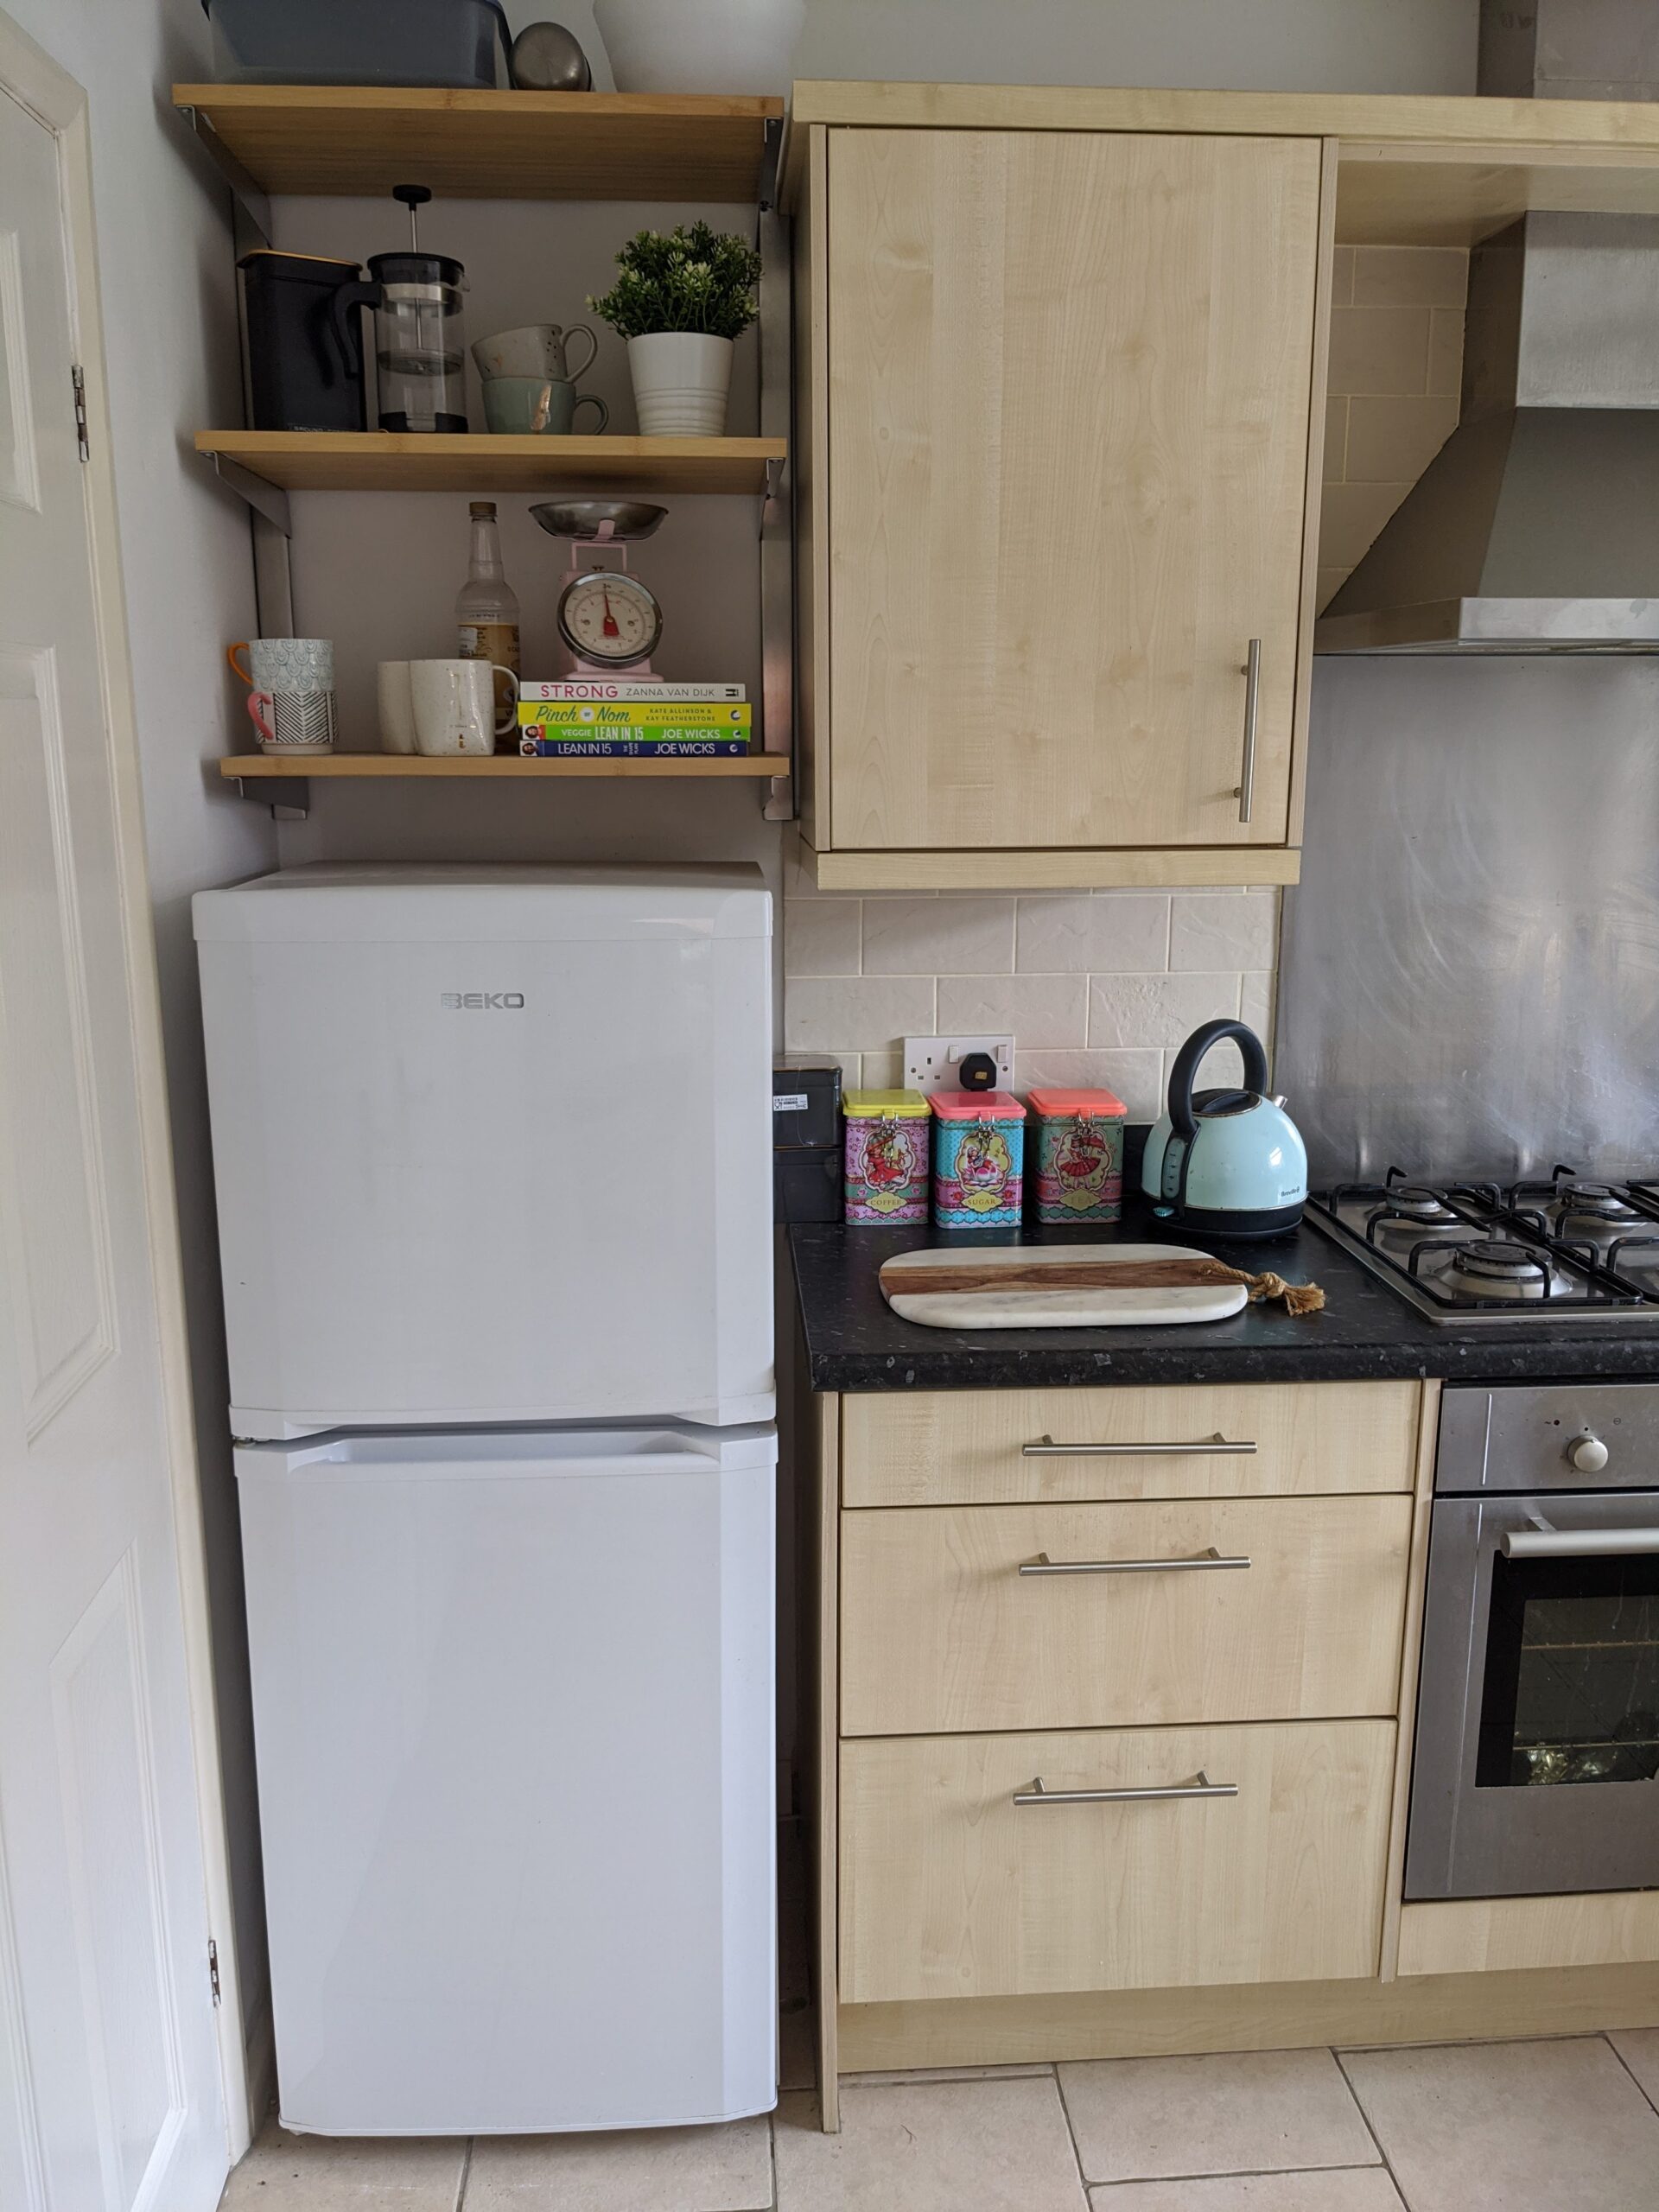
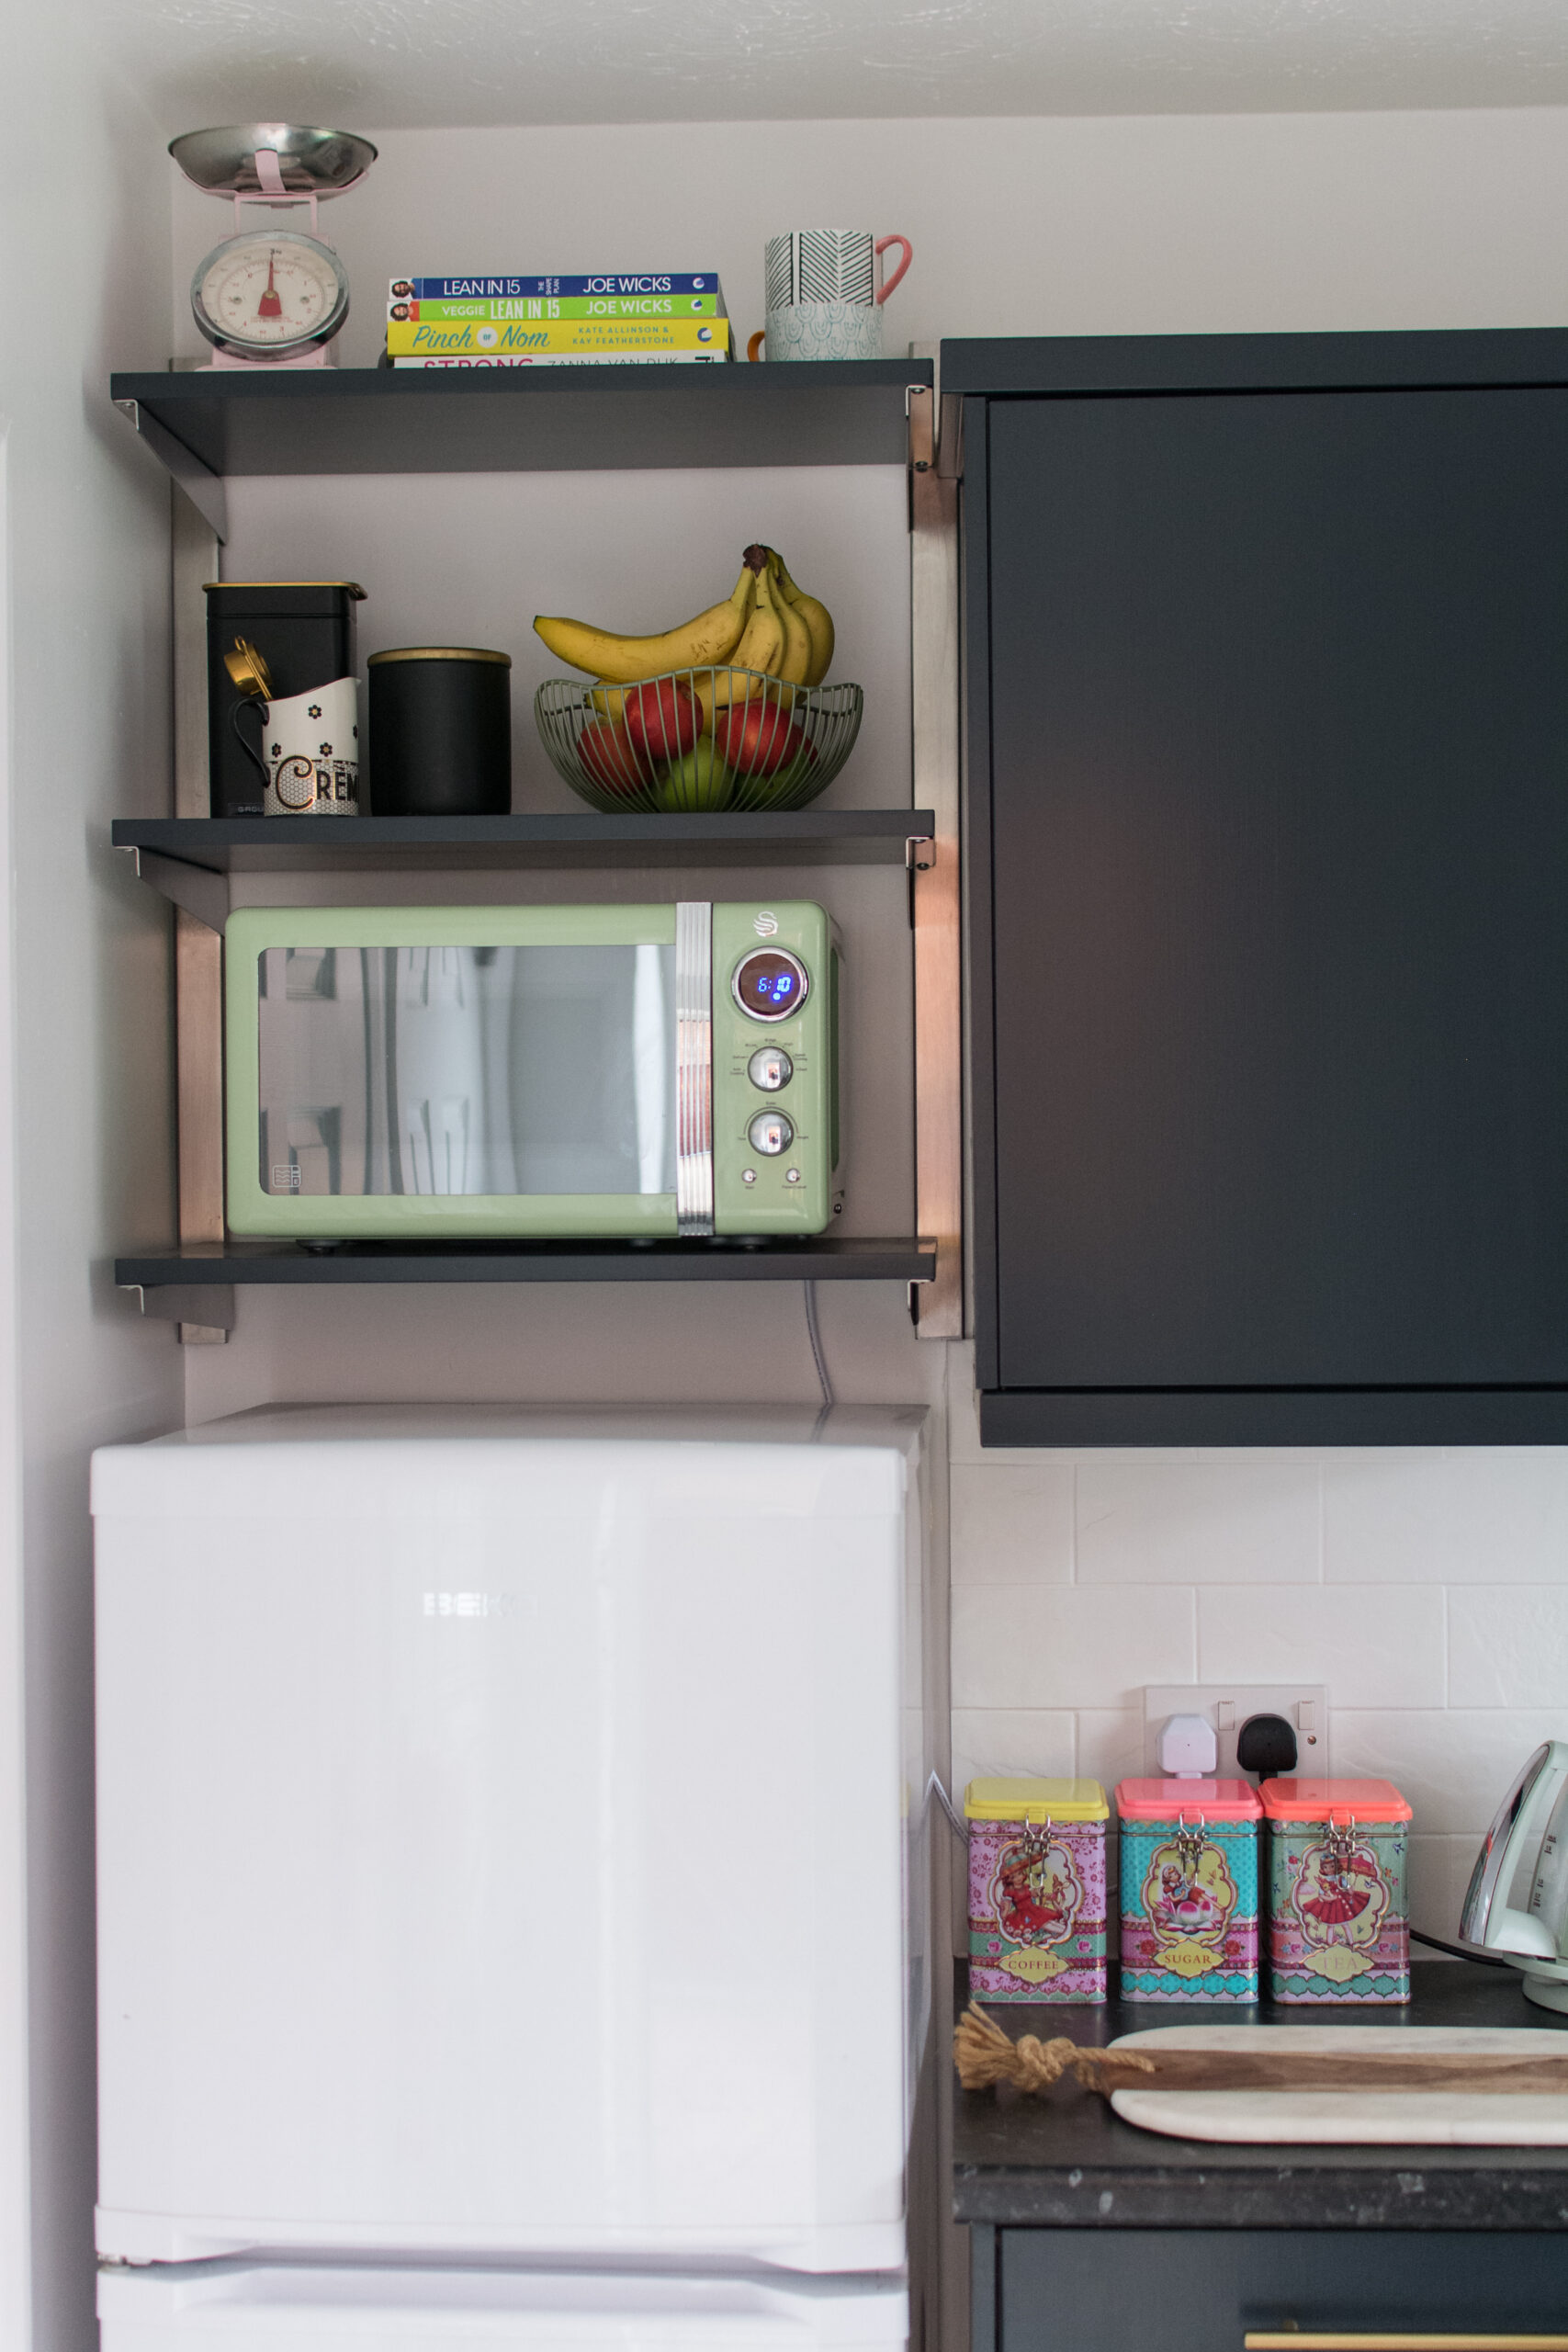
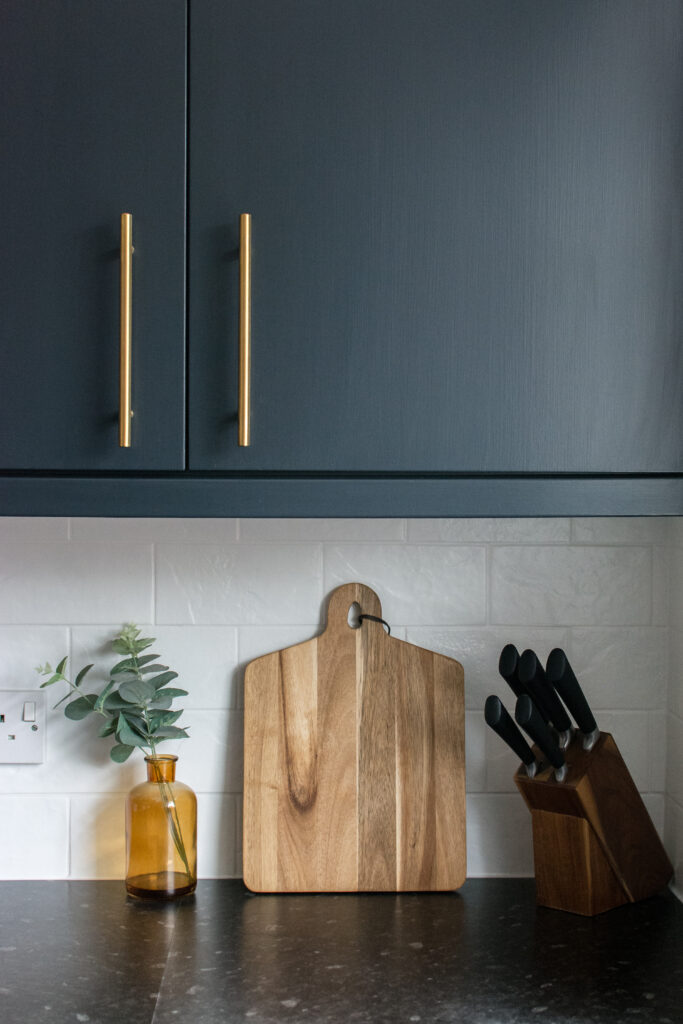
Once dry and ready to put back, we reattached the doors and were totally blown away by the difference painting kitchen cabinets made. I mean, I think the pictures speak for themselves. We decided to go for bigger, brass handles to really finish the space off and add to the expensive look we were going for. Tom also painted the walls and tiles white (we used special tile paint for the tiles) and this made a huge difference too, really brightening the room up.
Dressing the Space
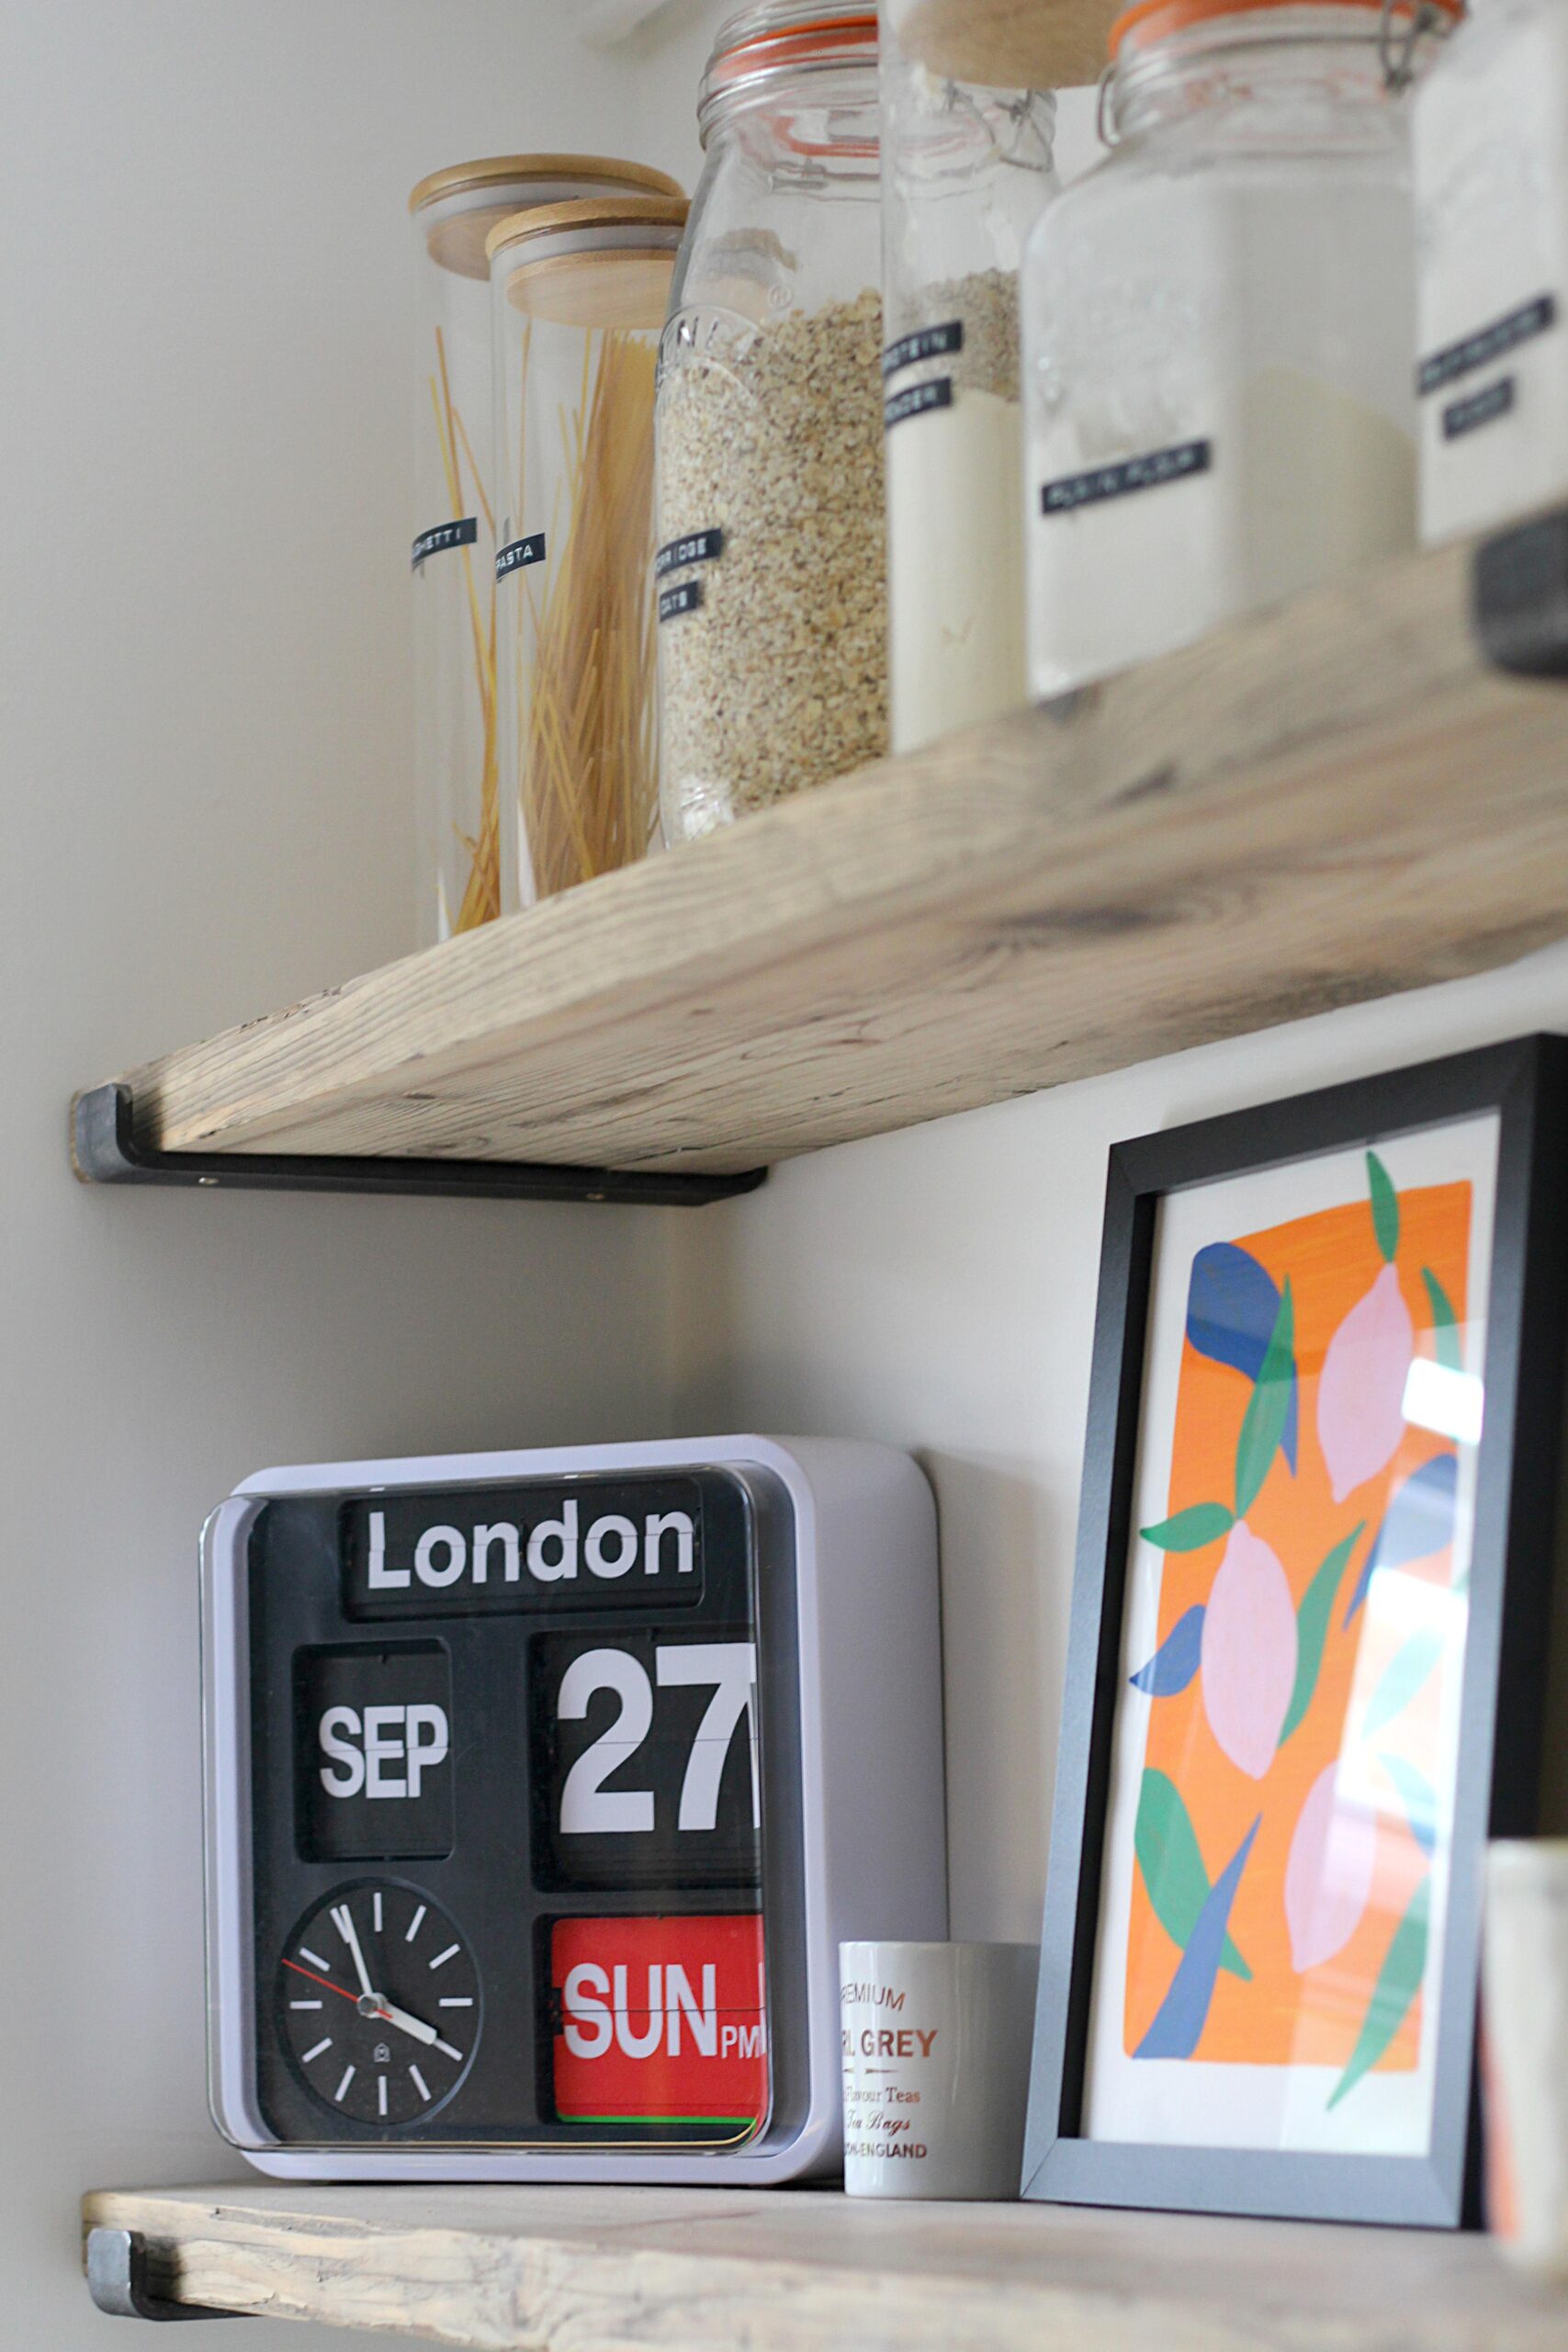
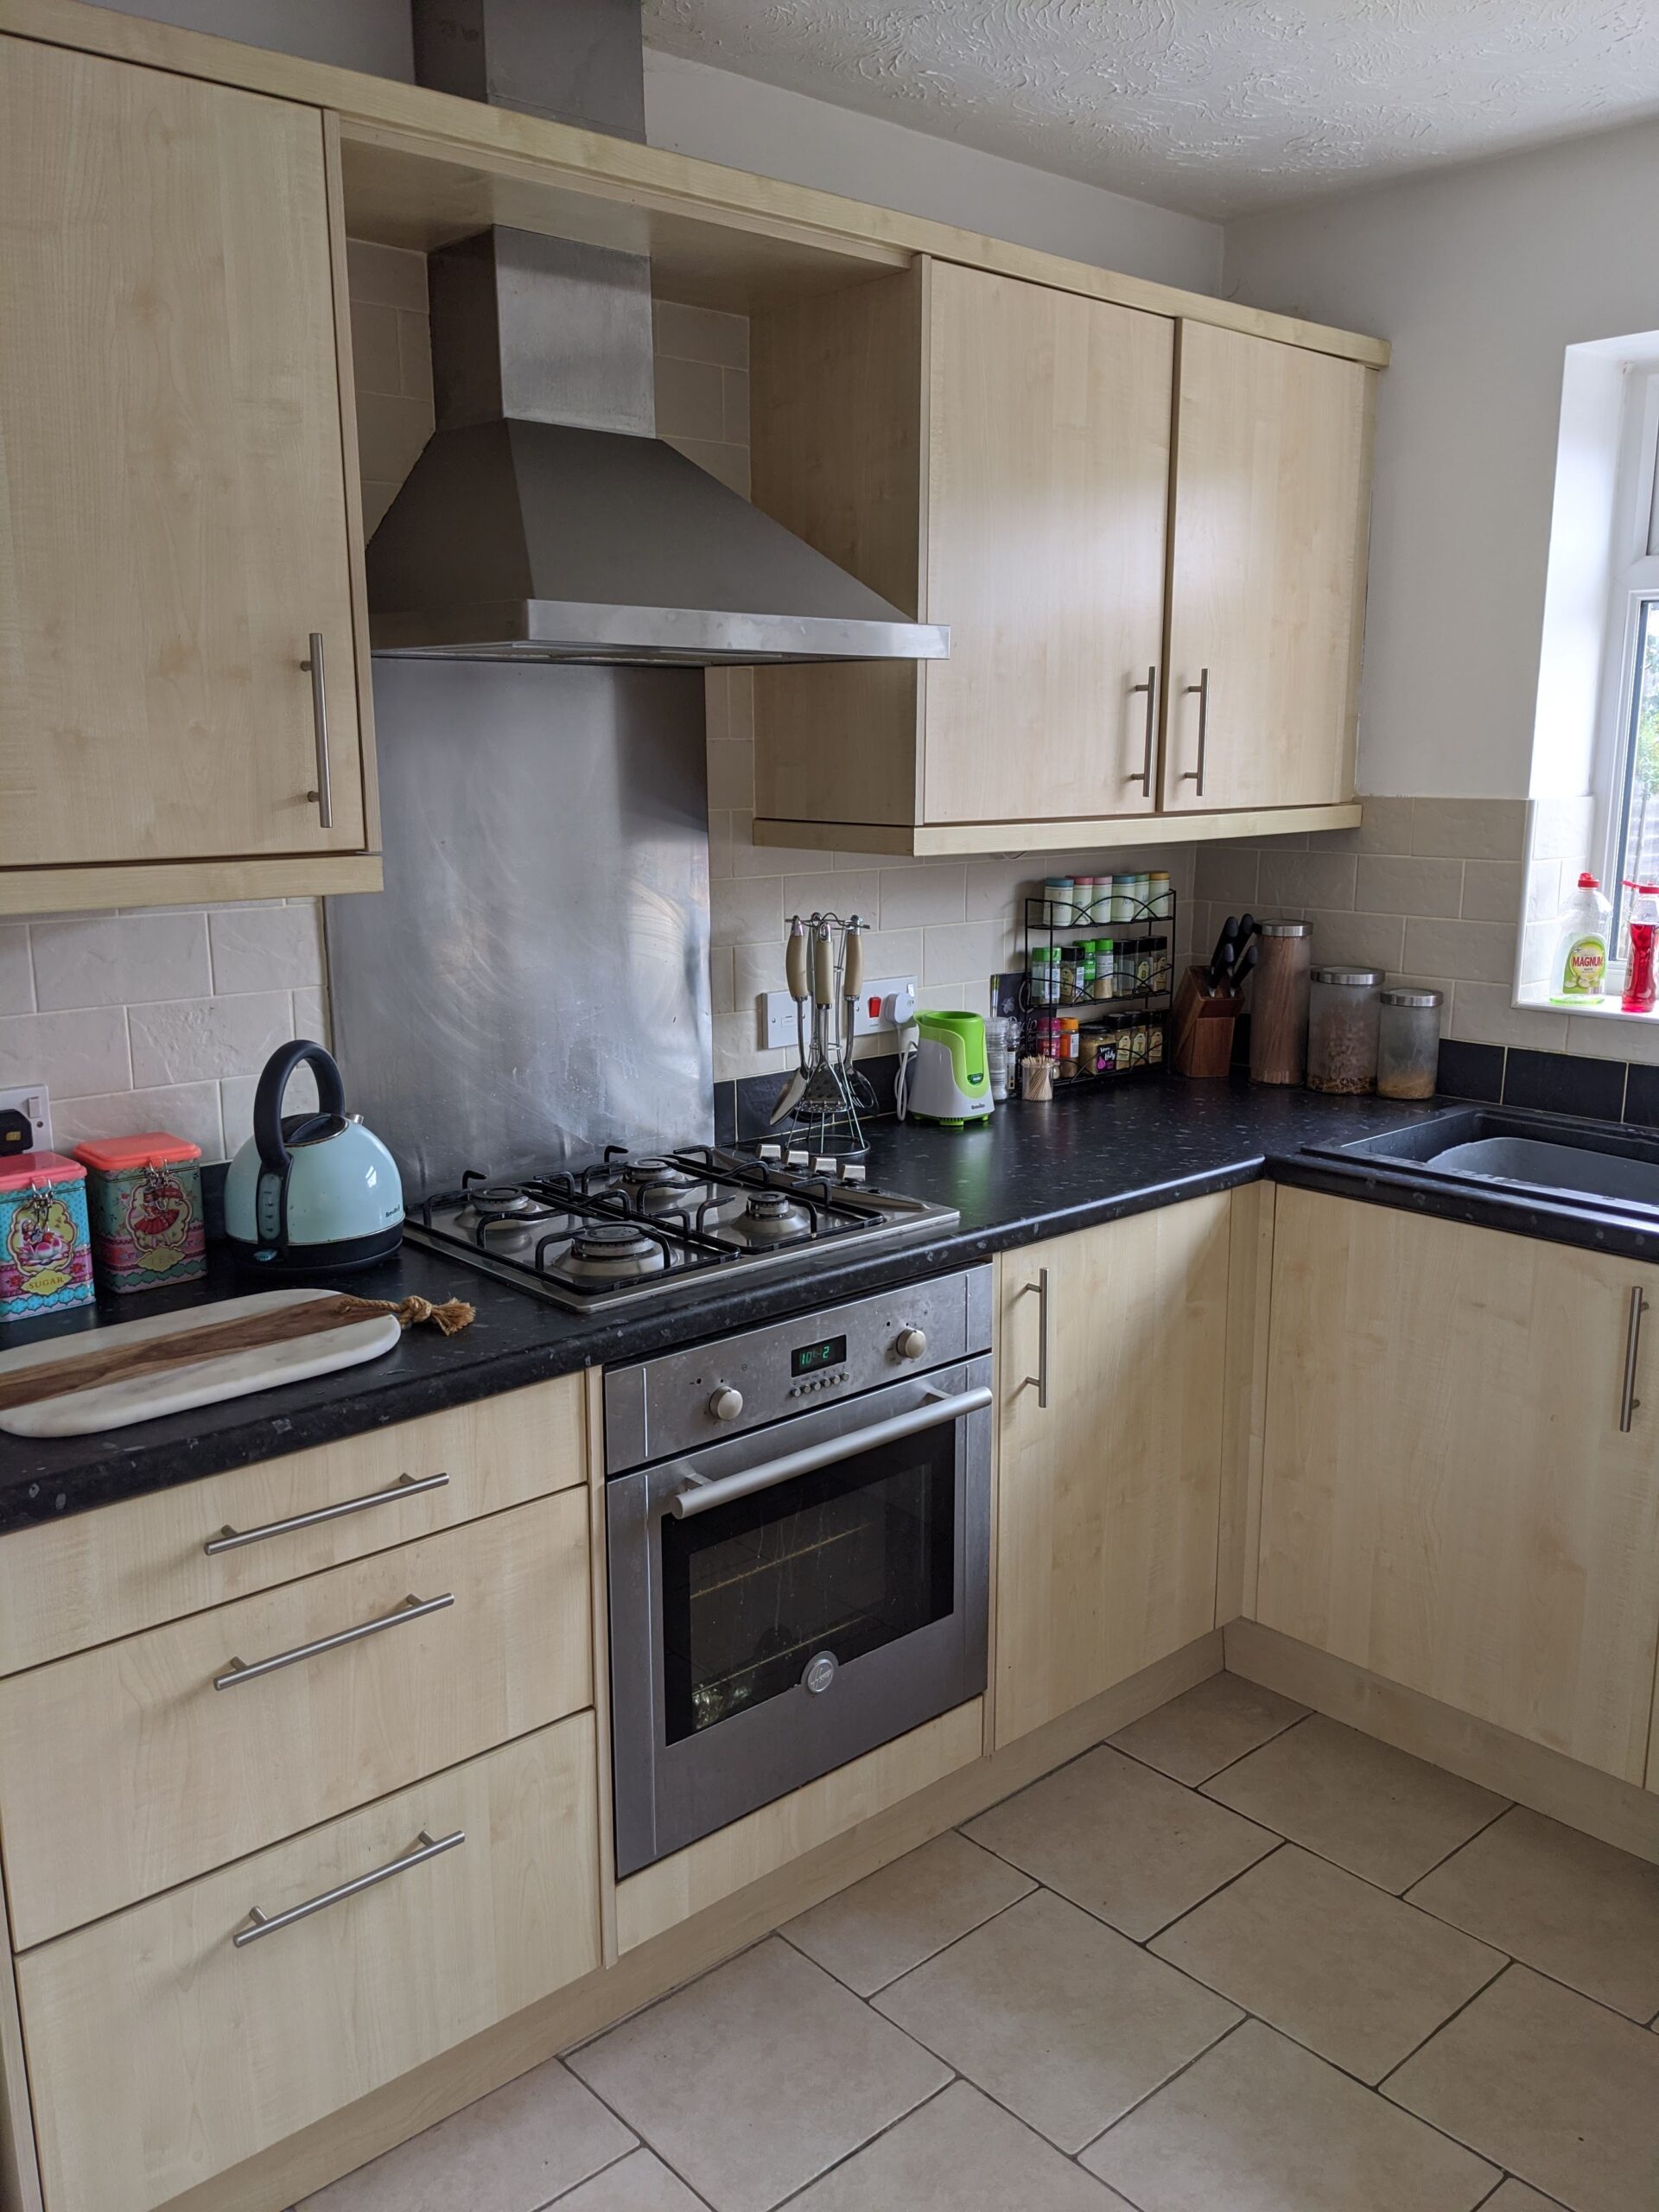
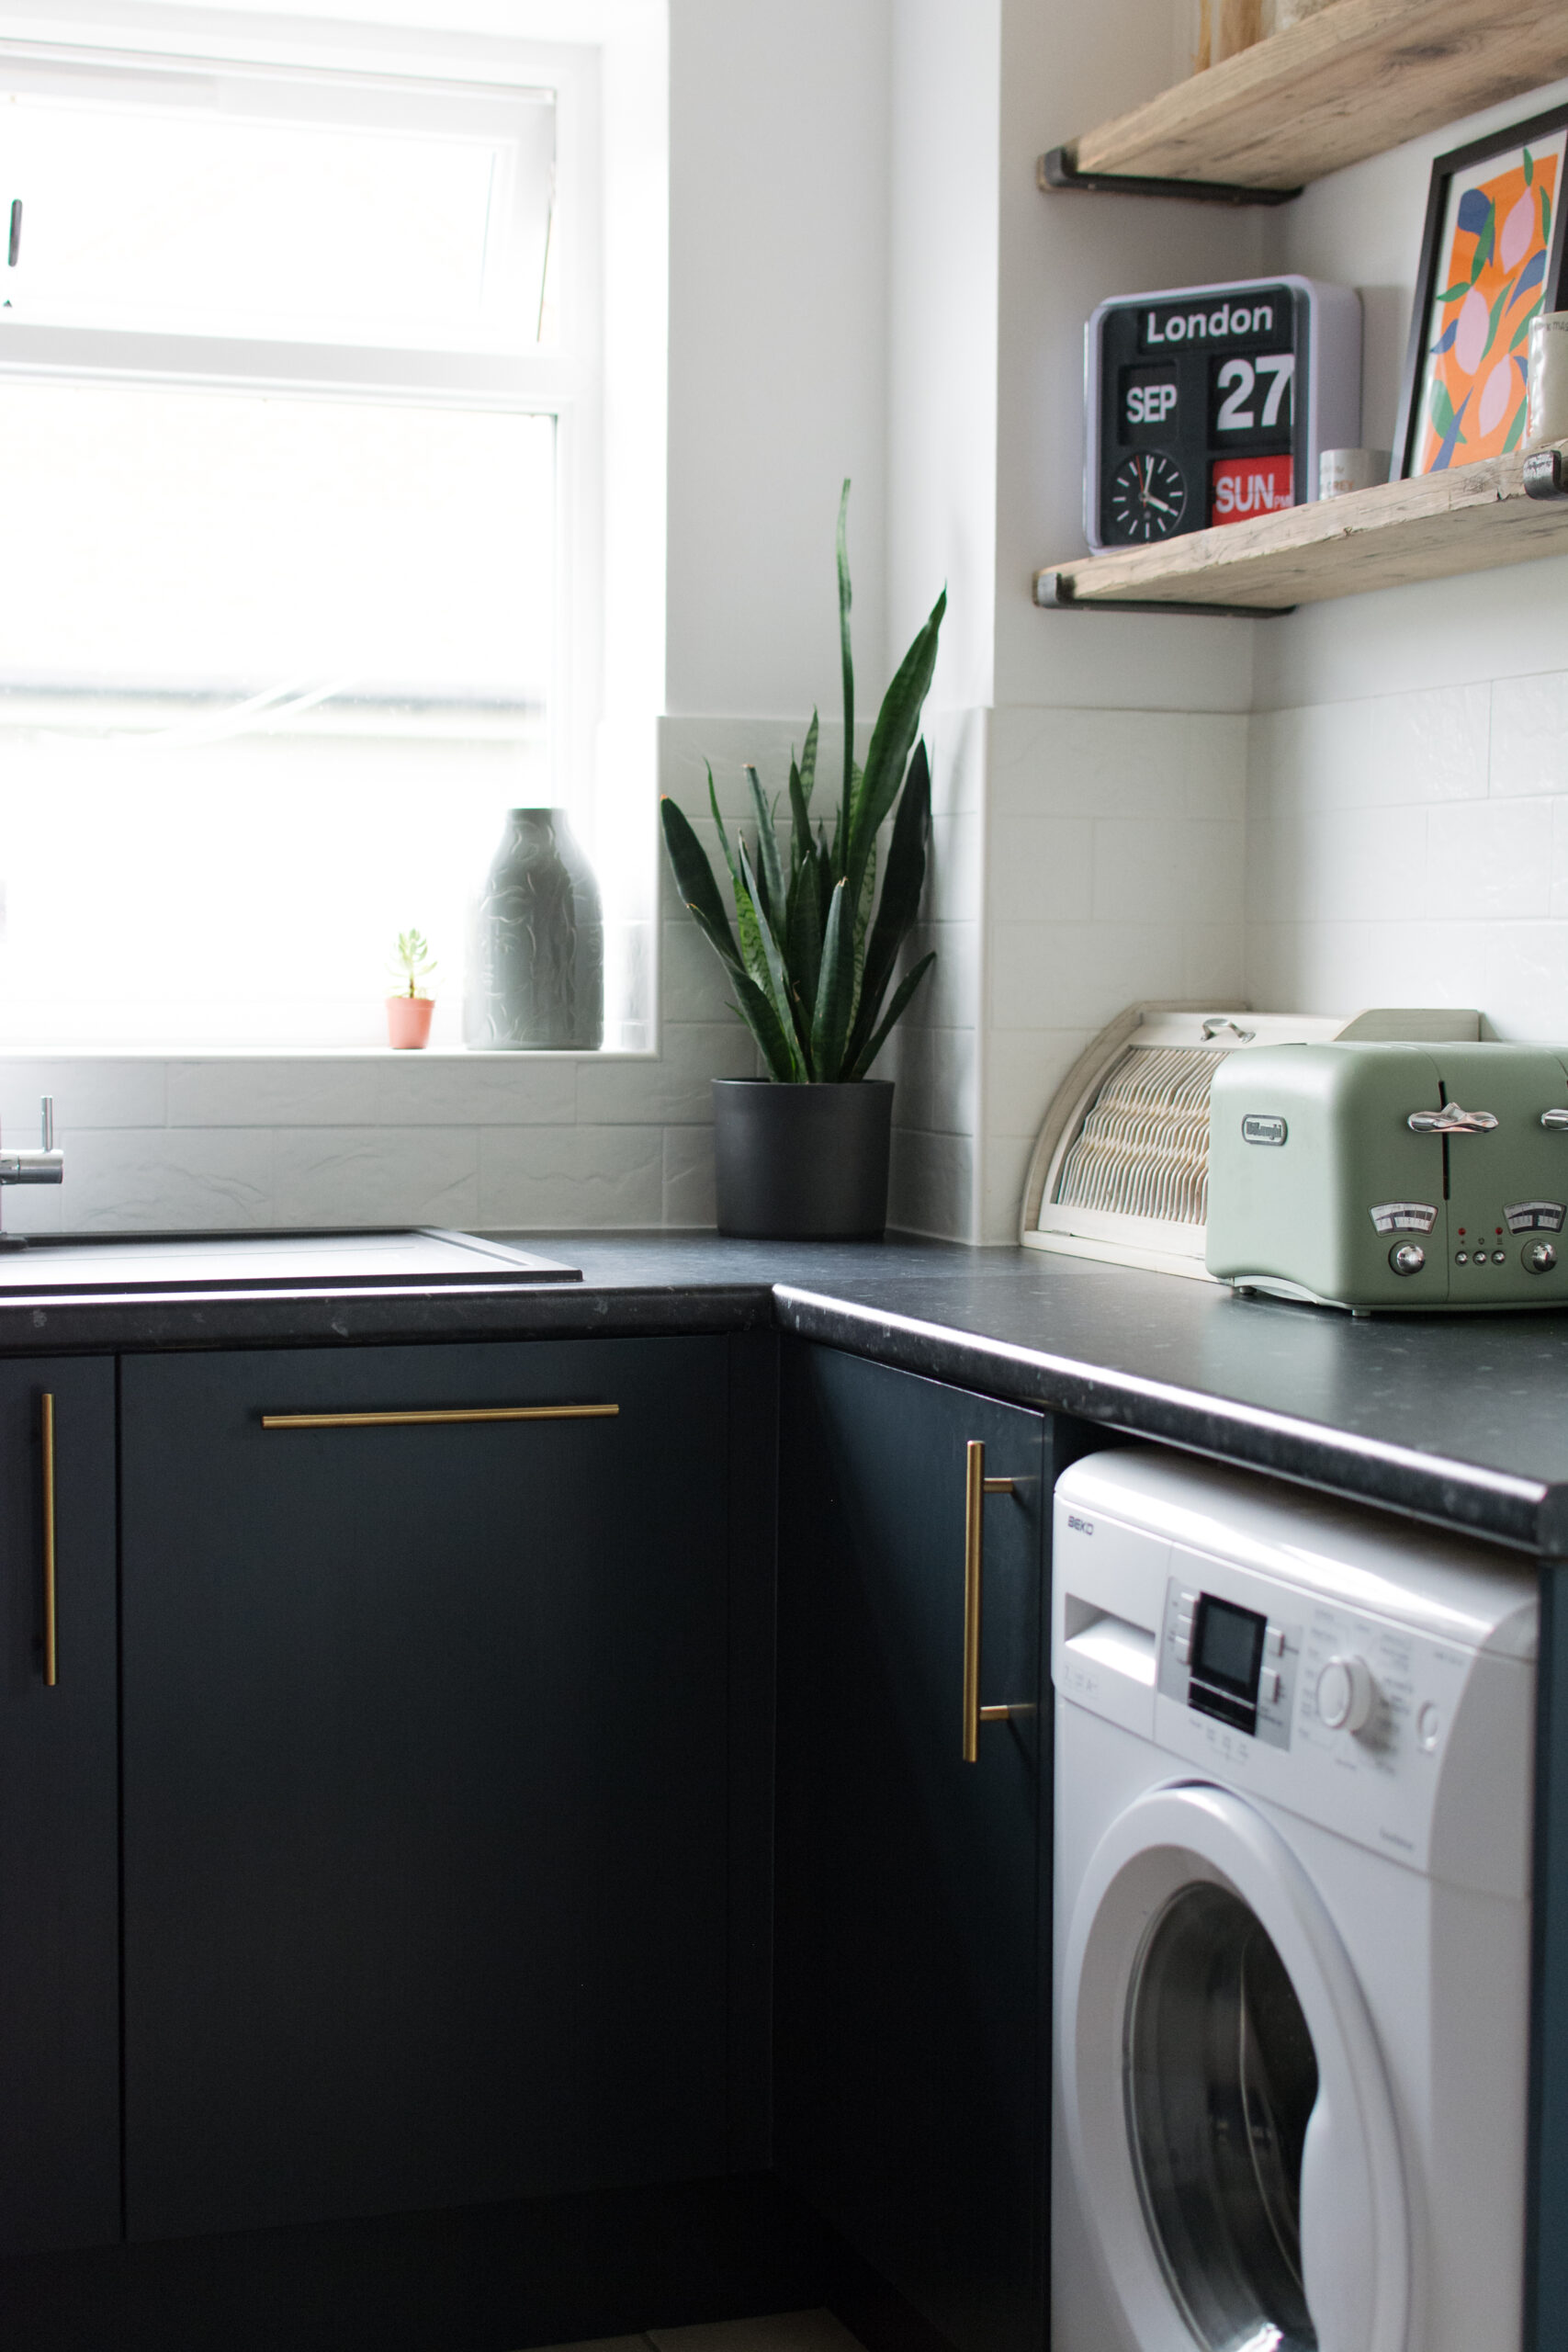
My favourite part of decorating a room has got to be adding all the finishing touches at the end. Before we had a load of my old pastel cast-offs from when I lived on my own about 100 years ago and if I’m honest, I was a bit over it. So, we got new lights, a cute little ‘Bon appetit’ wire sign and invested in new appliances. One of my favourite additions to the room are the super handy scaffold board shelves which Tom made.
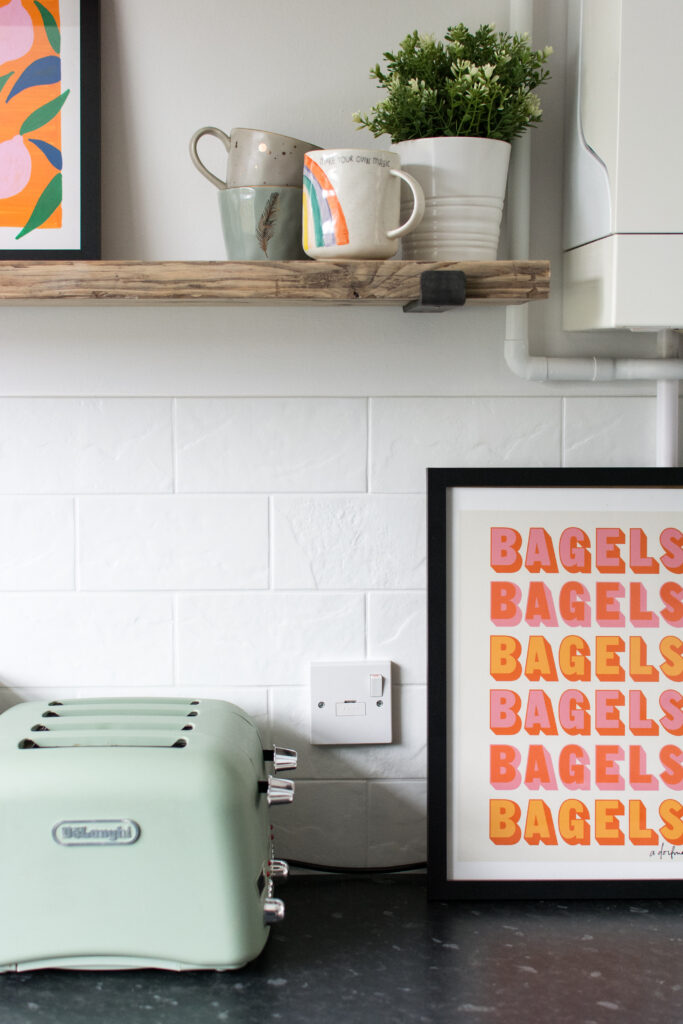
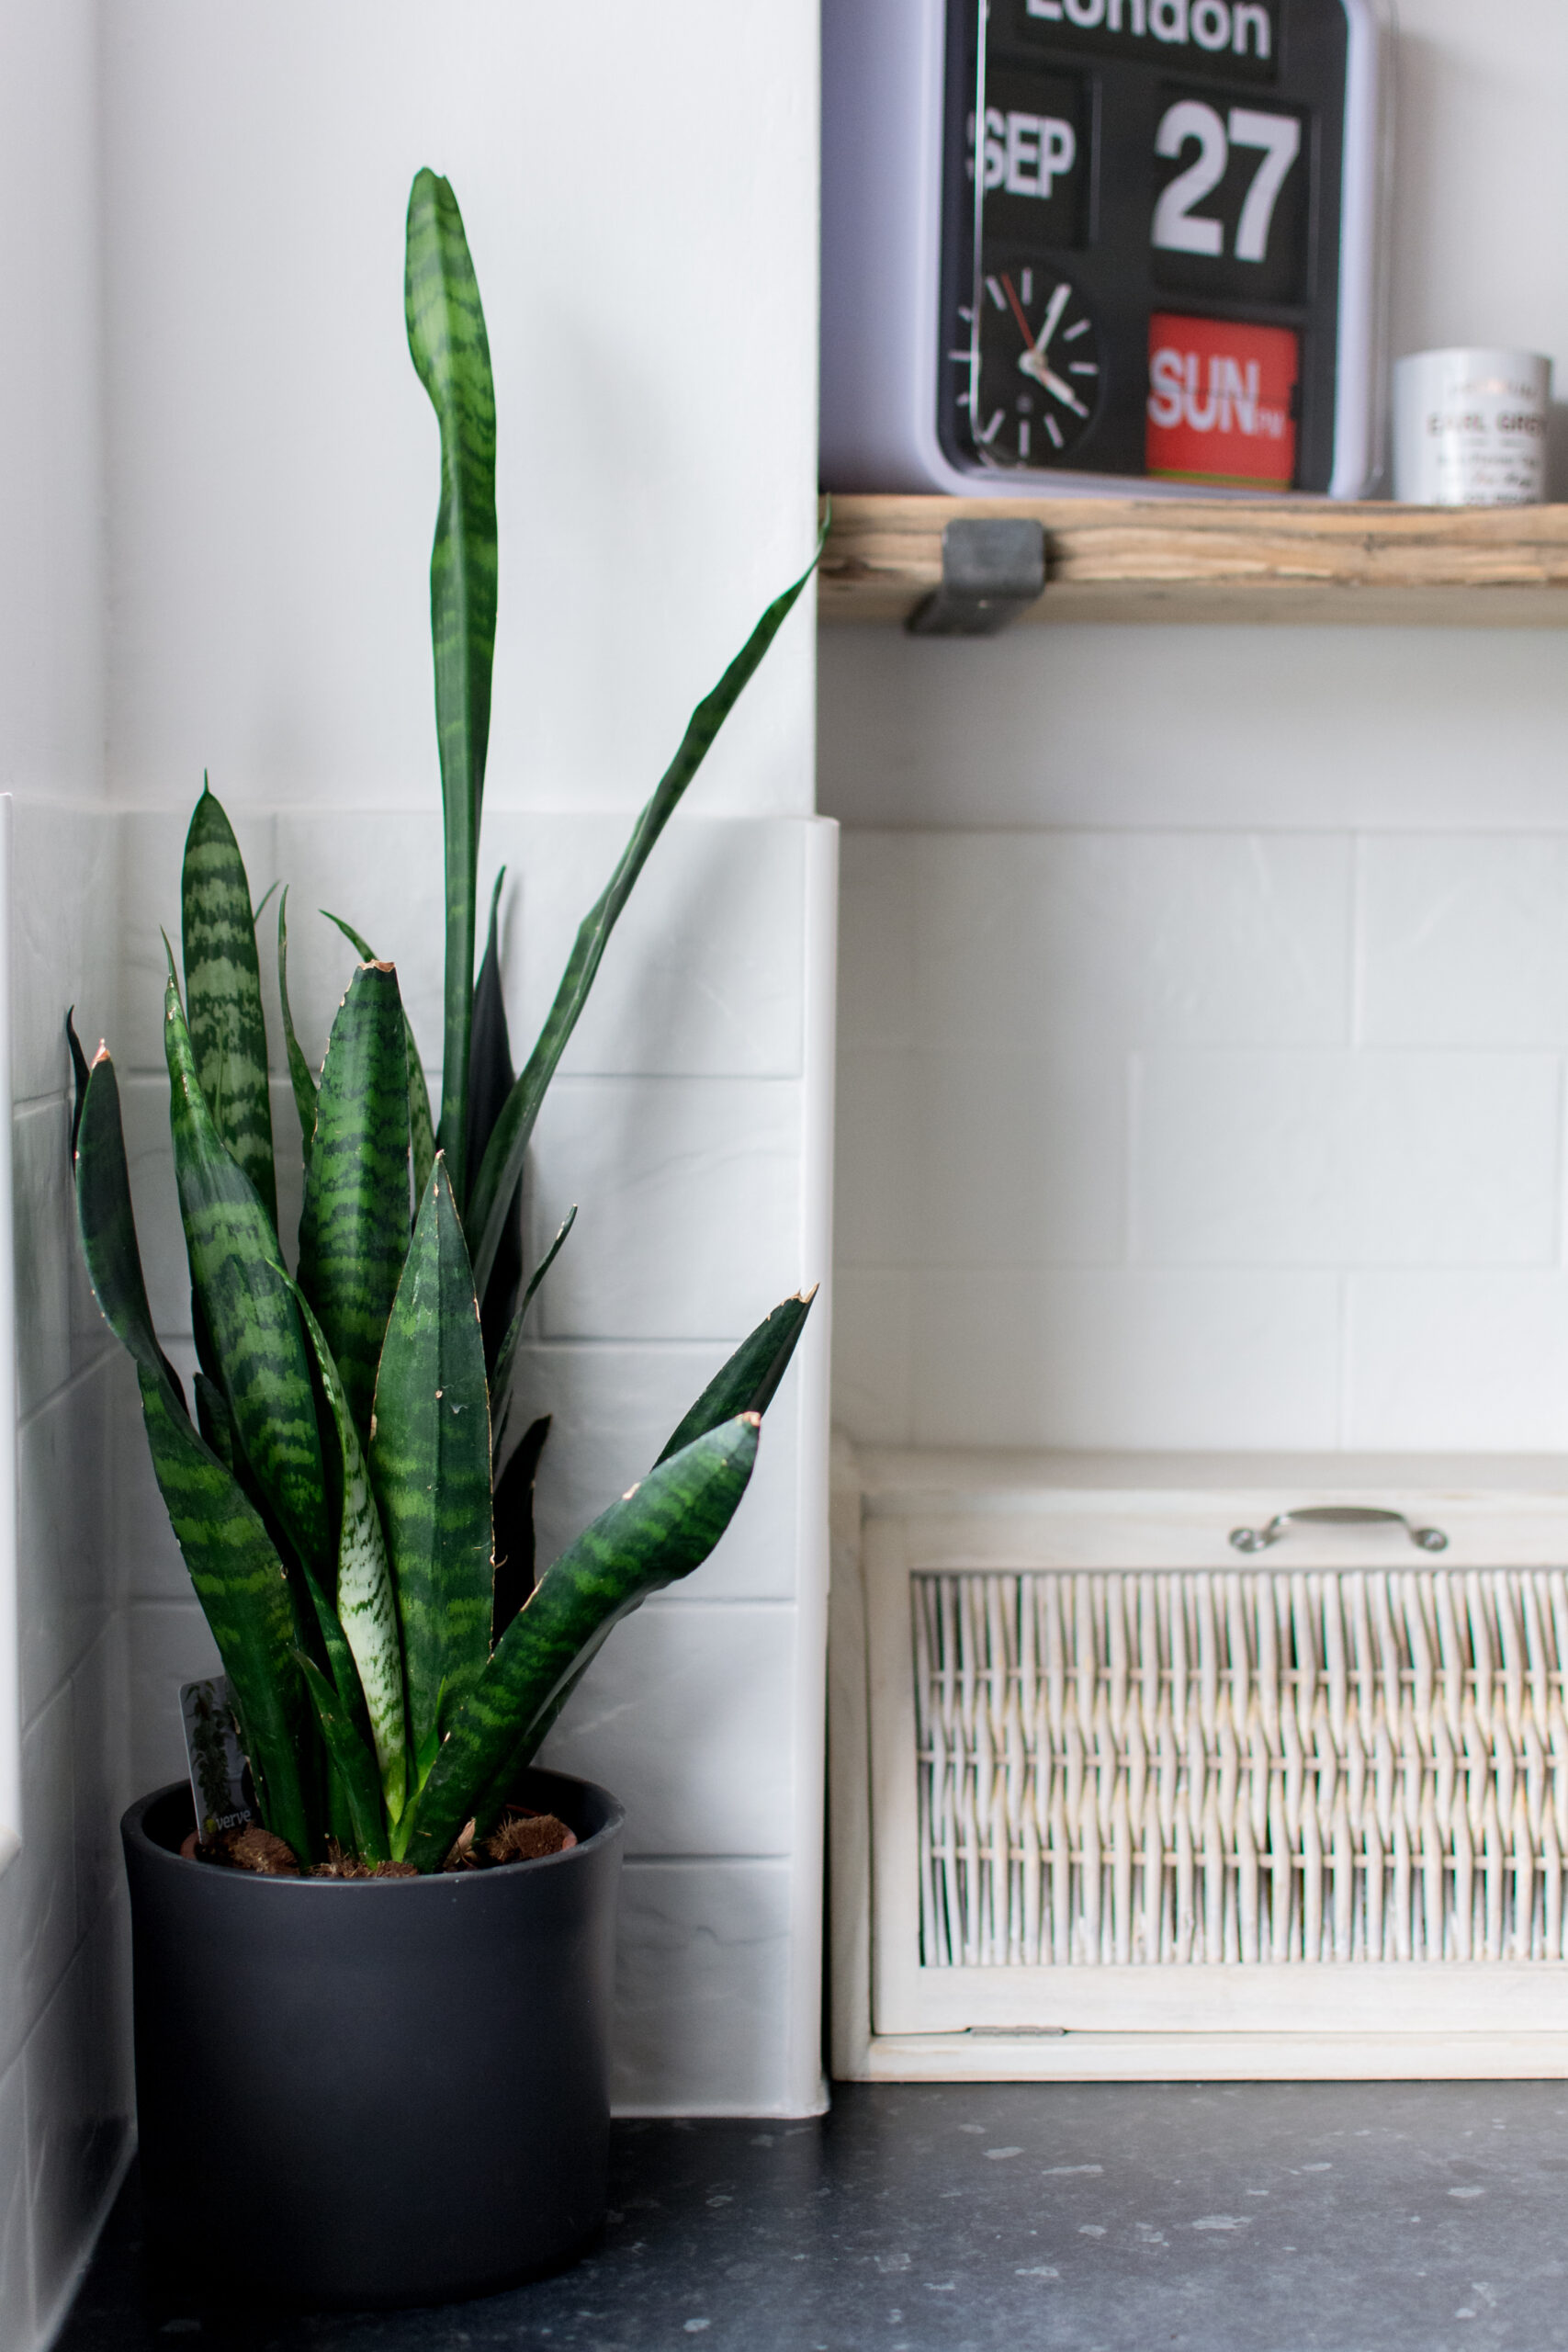
We also upgraded our bread bin to a super cute wicker one and added some bright prints to inject some more colour to the space. Then we repositioned the (new) microwave above the fridge in another shelving area we had added just before deciding to decorate. I also finally got my hands on the dream Habitat clock I’ve wanted for so long, and I adore how it looks on our shelves. We now have so much more counter space and everything feels so much cleaner and brighter.
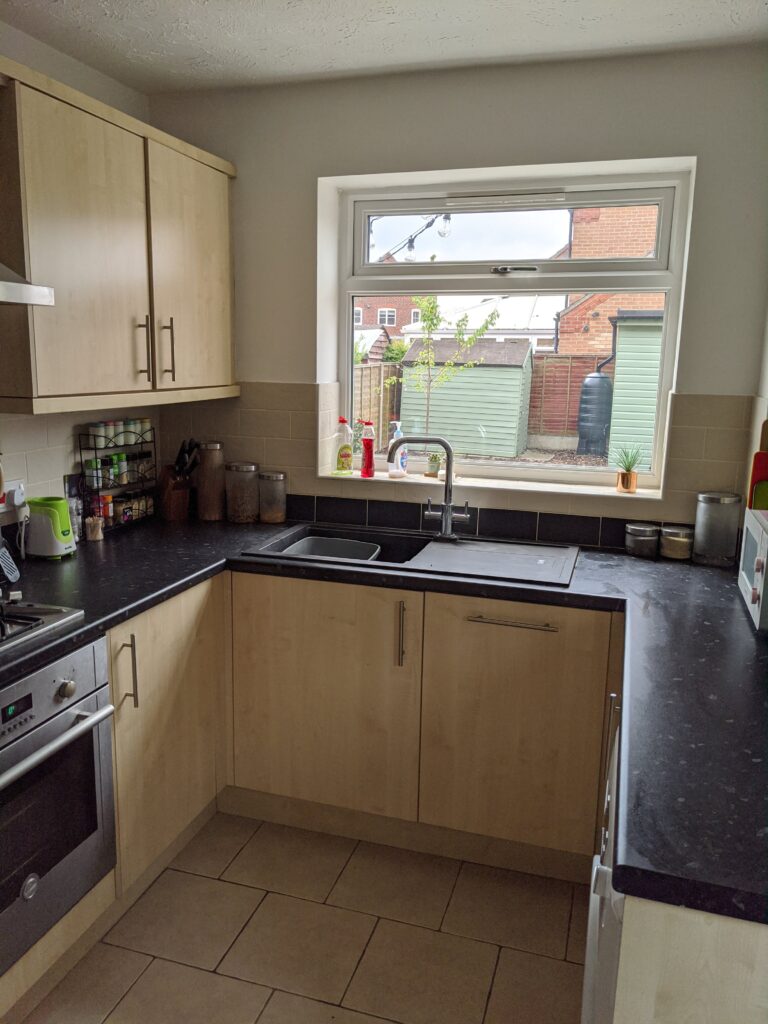
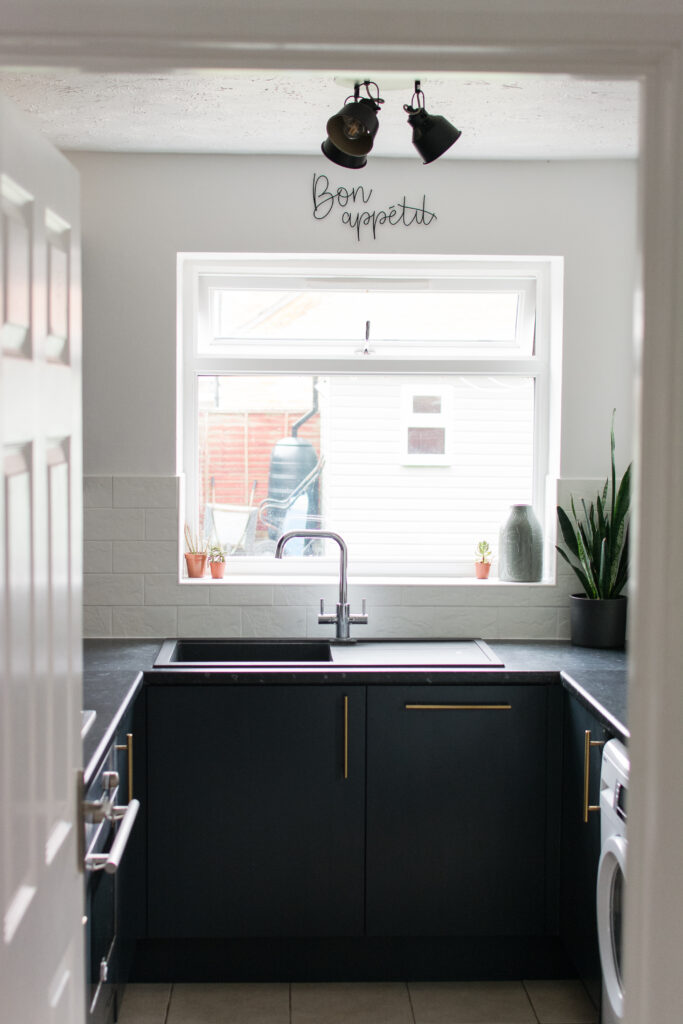
I’m absolutely over the moon with the finished result we got from having a go at painting kitchen cabinets. Who knew that a lick of paint could make such a huge difference? Instead of forking out thousands on a whole new kitchen, we spent about £190 in total (not including the appliances and other bits). However, £120 was the Farrow and Ball Paint, so if you go for a cheaper brand it’ll be a lot cheaper. I worried about how well the kitchen would hold up once painted, but it’s been a few months now and still looks pretty much like new. If you’re debating doing this to freshen up your space and save some money, I totally recommend it.
Links to Everything
Paint prep and finishes
Sugar soap – No Nonsense via Screwfix
Primer – Zinsser B-I-N
Undercoat – Farrow & Ball
Railings paint – Farrow & Ball
Handles – Amazon
Accessories/appliances
Flap city clock – Habitat via Argos
Bon appetit wire sign: LettersHomeWeddings via Etsy
Light: Illuminaton.co.uk
Fruit print – Hand & Palm
Bagels print: Iamfy
Wicker bread bin: Next
Kettle and toaster: Delonghi via Argos
Microwave: Swan via Amazon
Glass jars with wooden lids: Eden and Willow